PowerPoint 2016 -
Modifying Themes

PowerPoint 2016
Modifying Themes


/en/powerpoint2016/inspecting-and-protecting-presentations/content/
Let's say you really like the style of a theme, but you'd like to experiment with different color schemes. That's not a problem: You can mix and match colors, fonts, and effects to create a unique look for your presentation. If it still doesn't look exactly right, you can customize the theme any way you want.
If you're new to PowerPoint, you may want to review our lesson on Applying Themes to learn the basics of using themes.
Optional: Download our practice presentation.
Watch the video to learn more about modifying themes in PowerPoint.
If you don't like the colors of a particular theme, it's easy to apply new theme colors; everything else about the theme will remain unchanged.

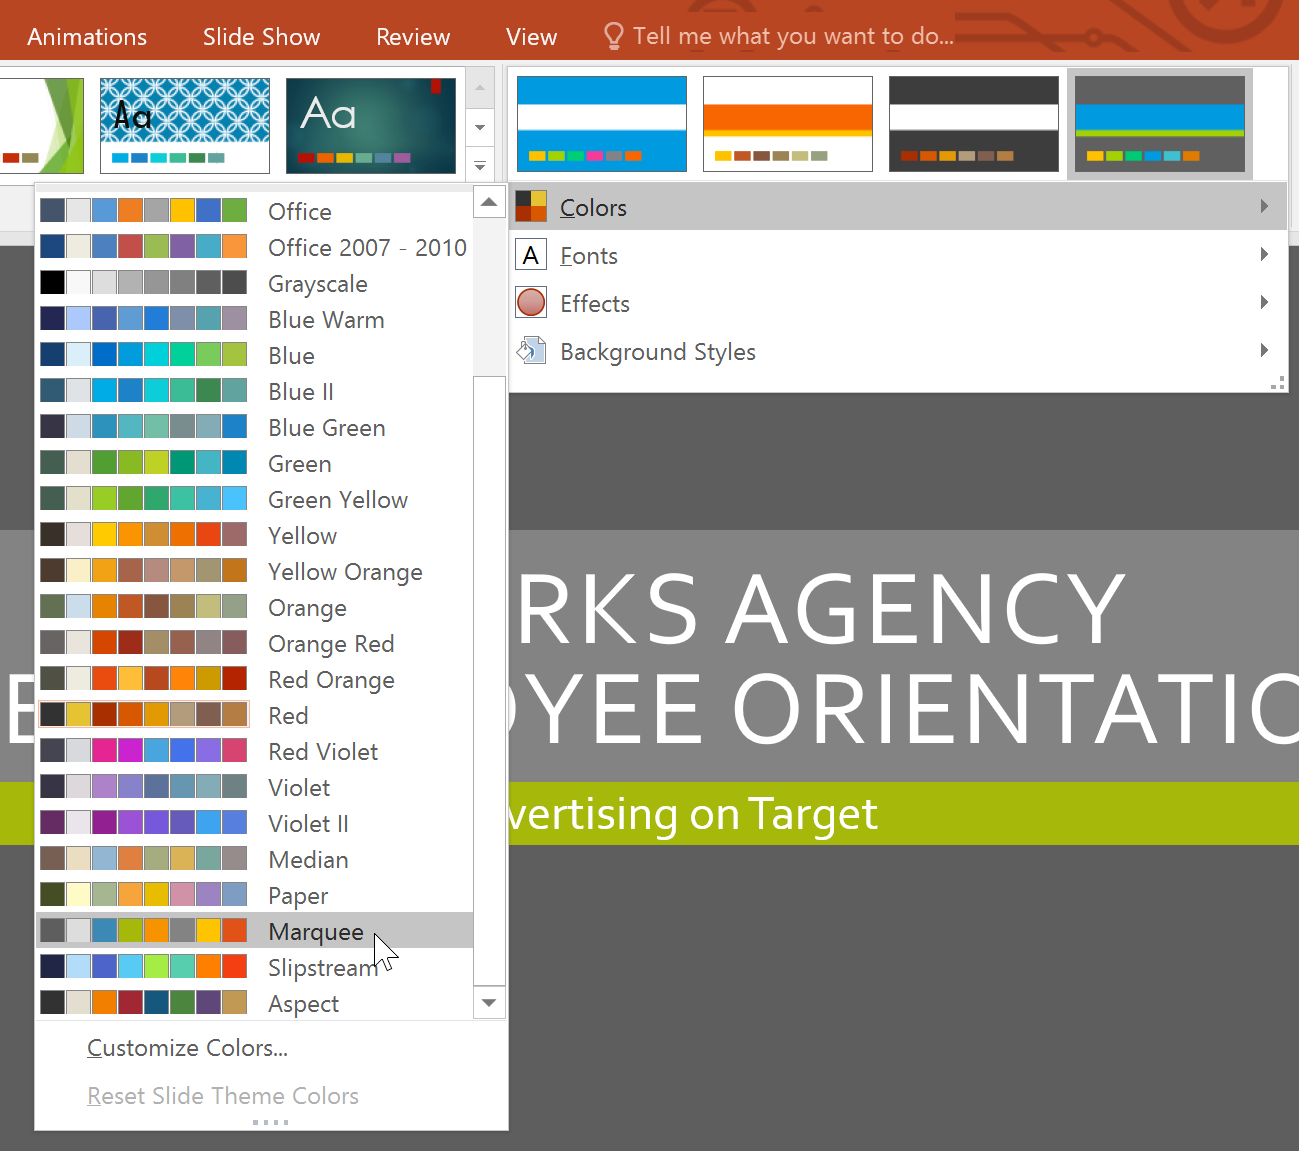
Sometimes you might not like every color included in a set of theme colors. It's easy to change some or all of the colors to suit your needs.
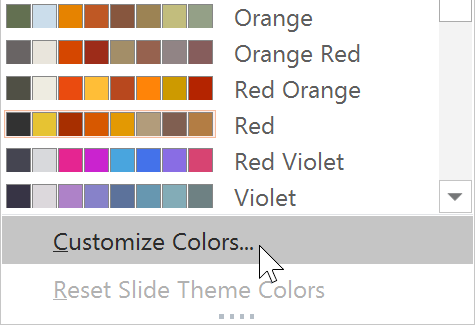
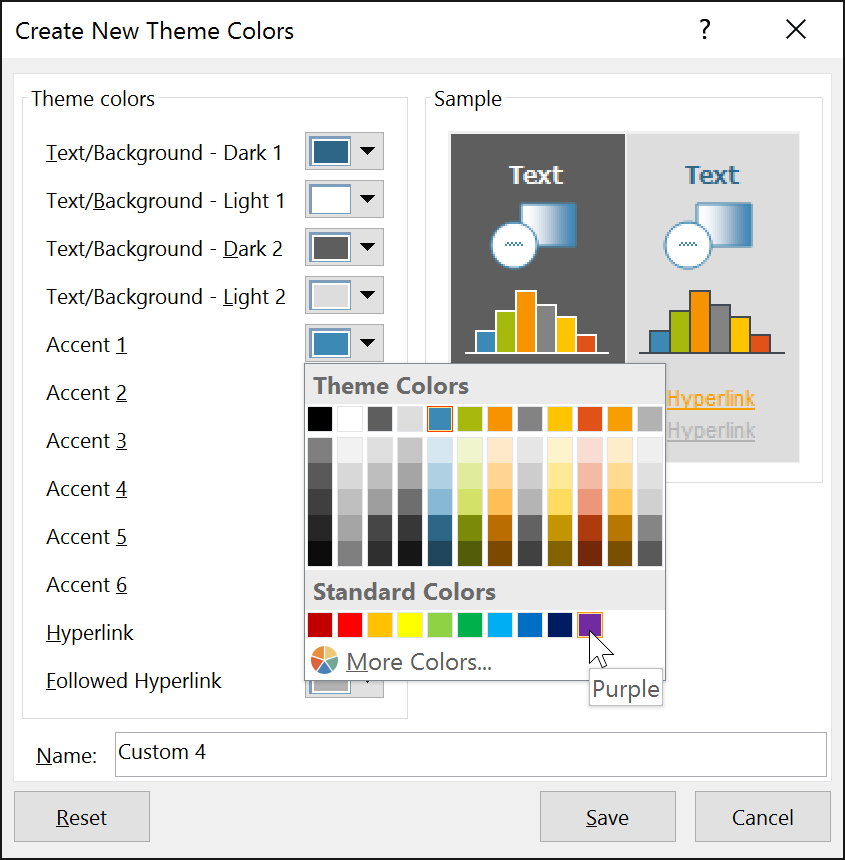
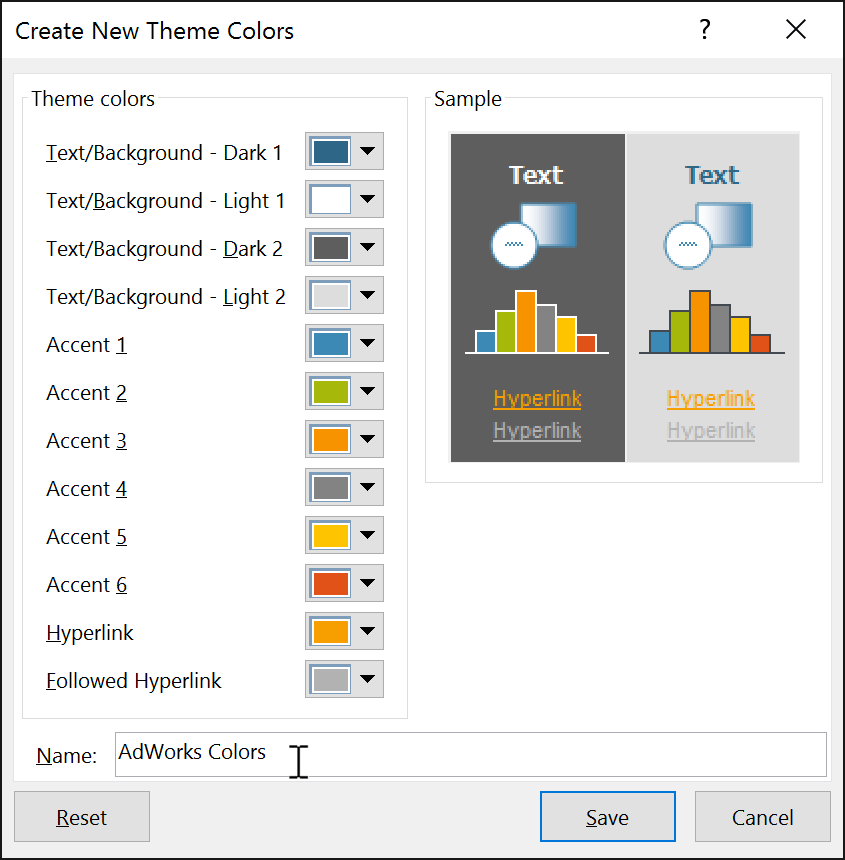
With some presentations, you may not notice a significant difference when changing the theme colors. For example, a textured background will not change when theme colors are changed. When trying different theme colors, it's best to select a slide that uses several colors to see how the new theme colors will affect your presentation.
It's easy to apply a new set of theme fonts without changing a theme's overall look. The built-in theme fonts are designed to work well together, which can help to unify your presentation.

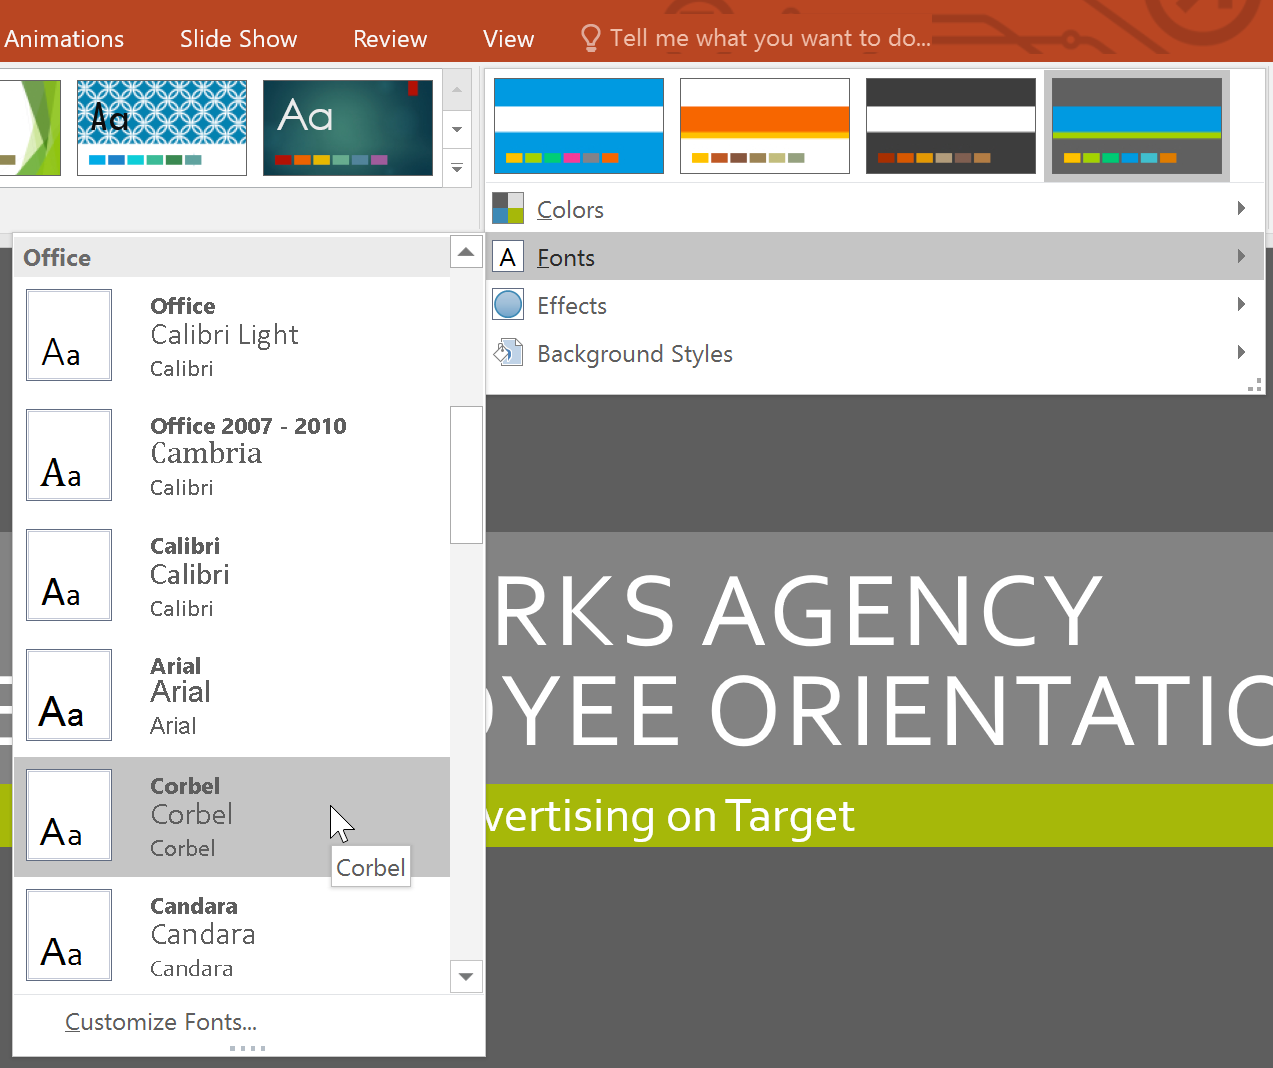
If you have specific fonts in mind for a presentation, it's easy to choose your own theme fonts.
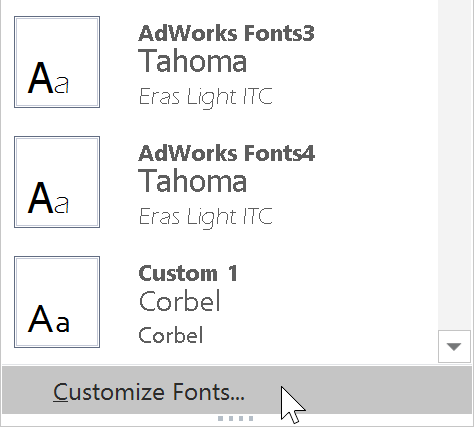
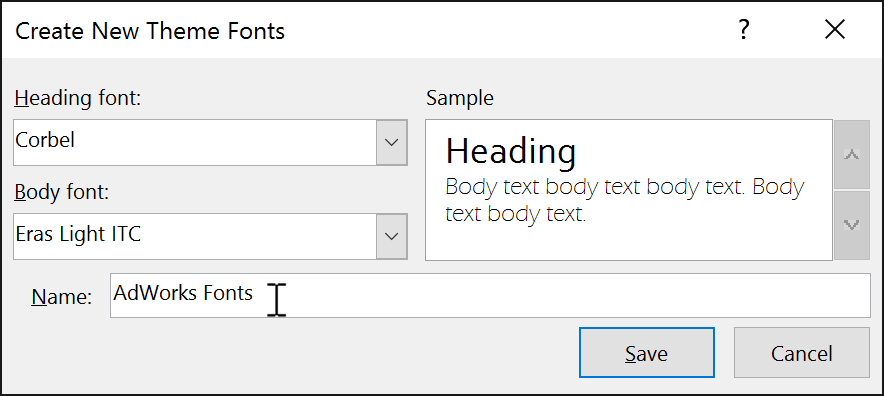
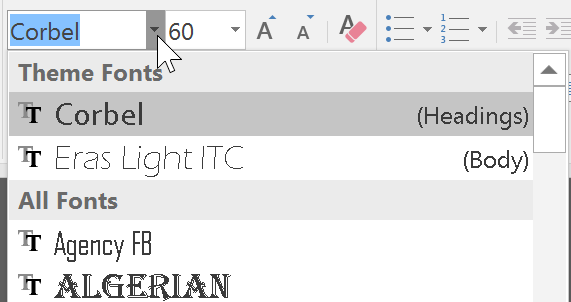
Changing the theme fonts will not necessarily update all text in your presentation. Only text using the current theme fonts will update when you change the theme fonts.
PowerPoint makes it easy to apply new theme effects, which can quickly change the appearance of shapes in your presentation.

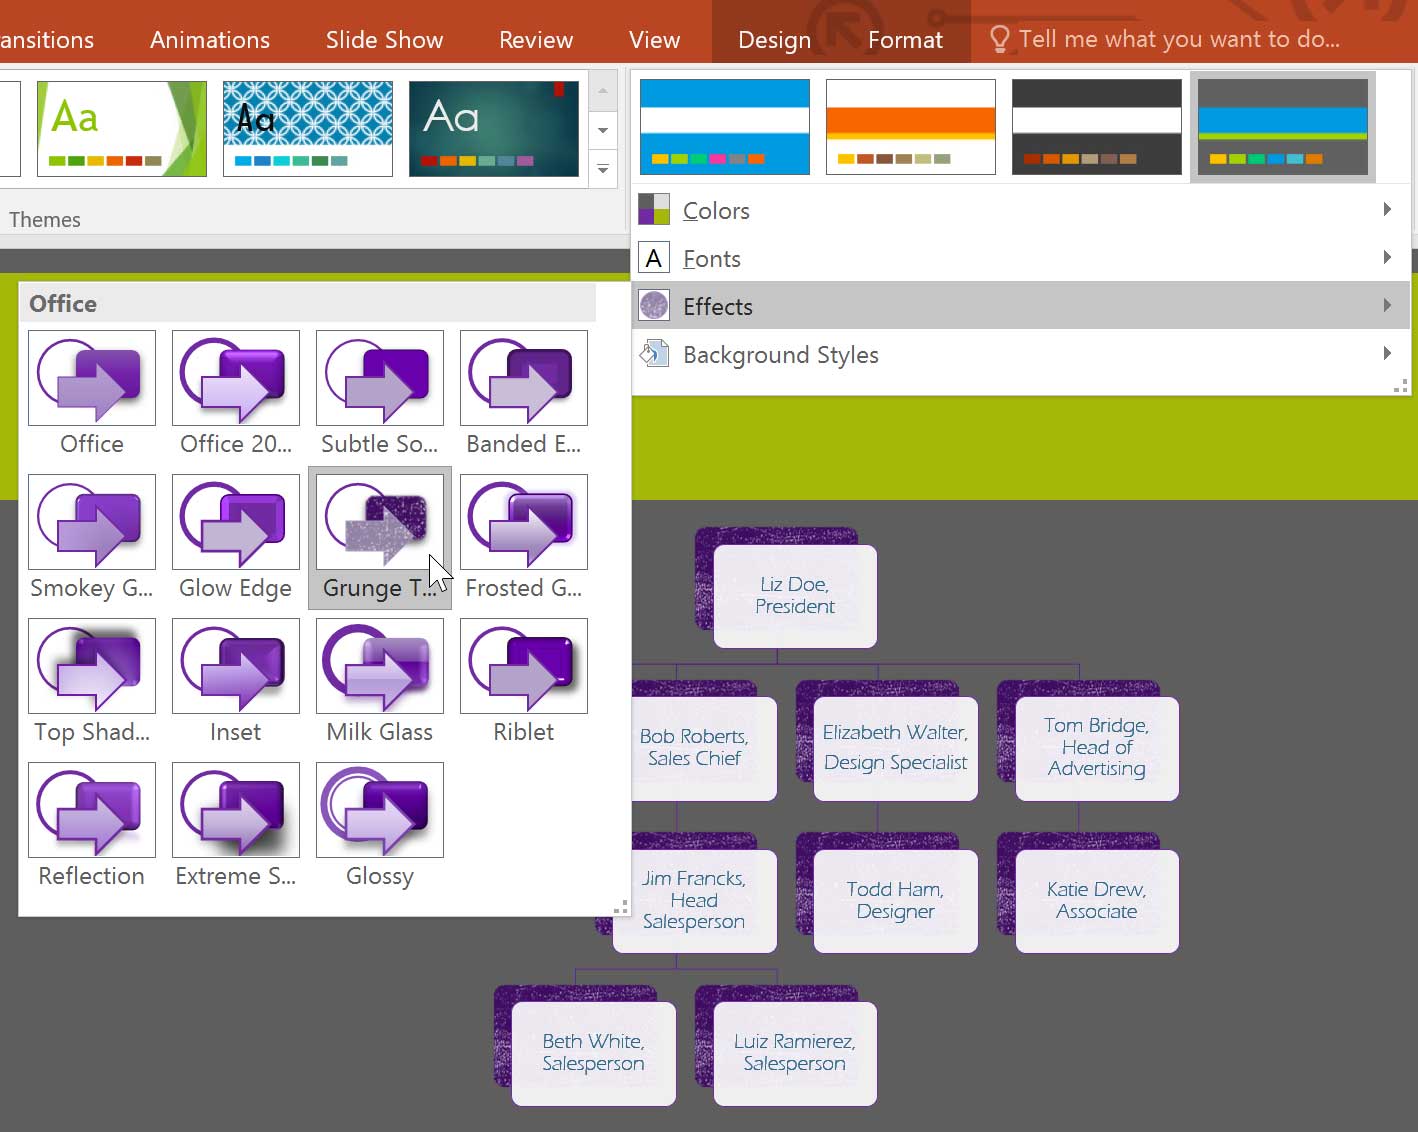
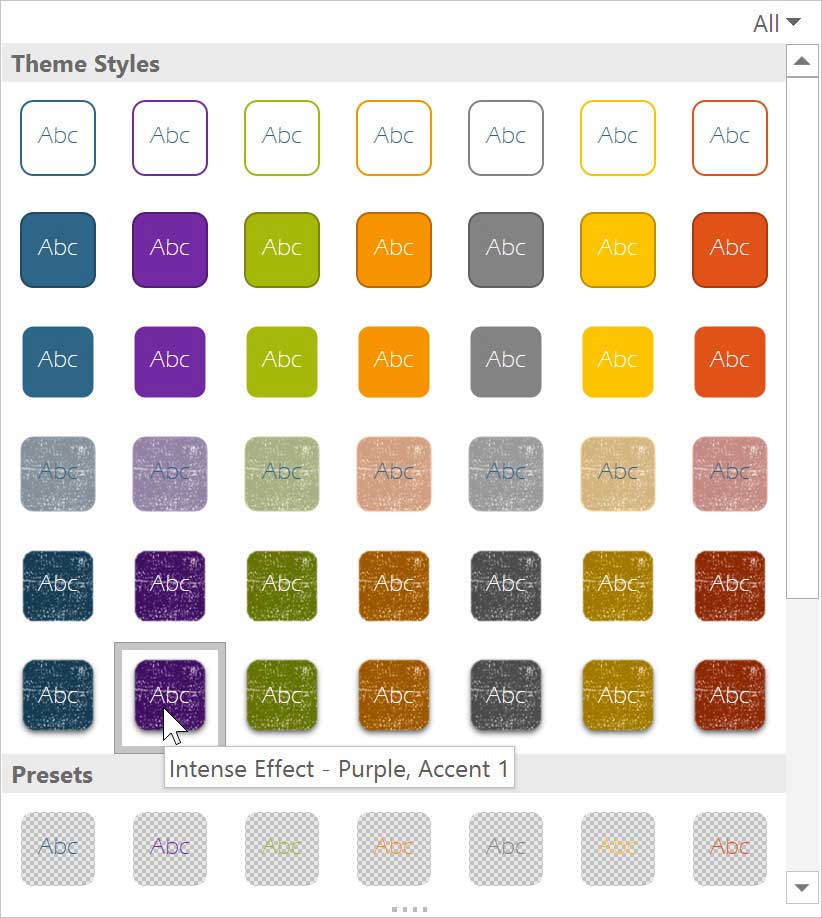
Applying new theme effects will change different shape styles from the Format tab when editing a shape or SmartArt graphic. It's important to note that this change will only apply to shapes using the Subtle Effect, Moderate Effect, and Intense Effect.
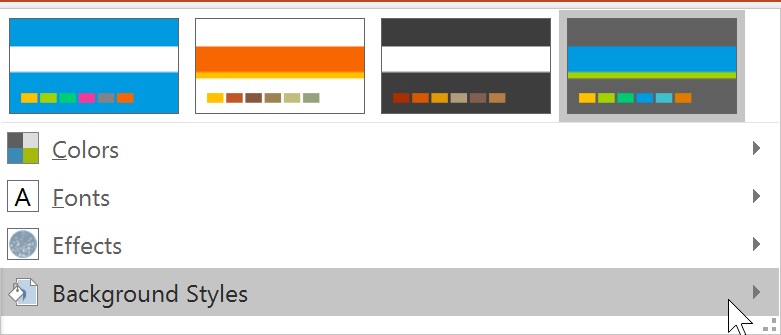
To further customize your slides, you can change the background color by choosing a different background style. The available background styles will vary depending on the current theme.

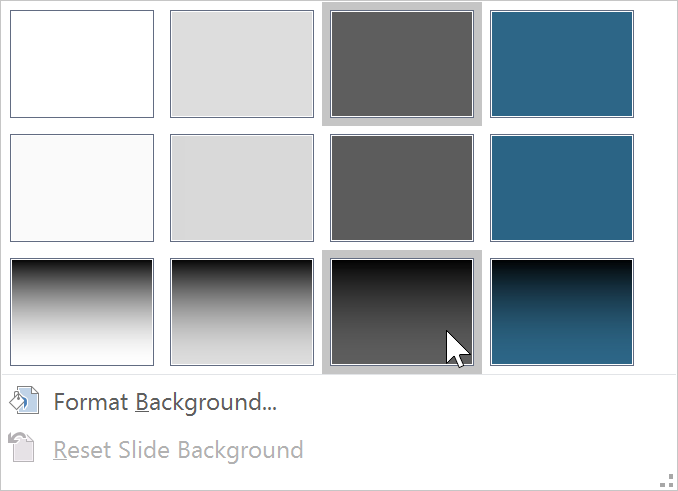
If you want even more control over the background, click the Format Background command on the Design tab.

Different themes also include different slide layouts and background graphics. We'll talk about how to customize these in our Slide Master View lesson.
Once you've found settings you like, you may want to save the theme so you can use it in other presentations. If you only want to use the theme in the current presentation, you won't need to save it.

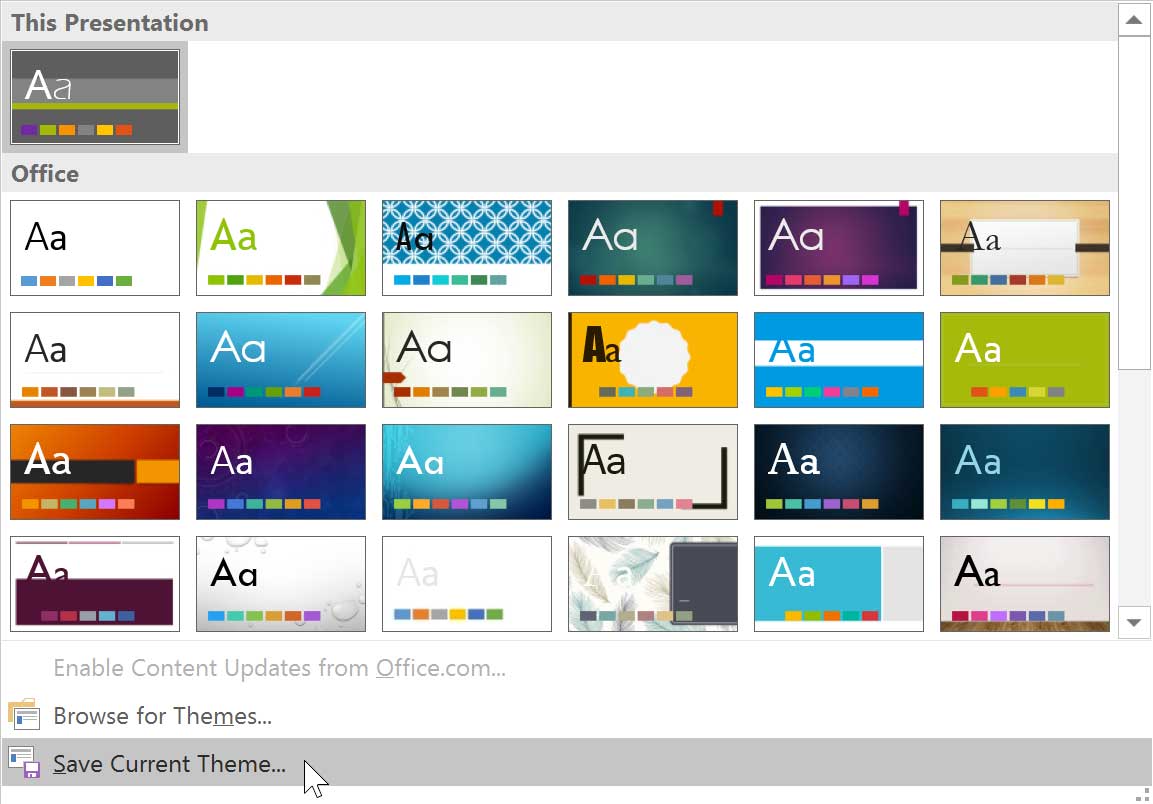
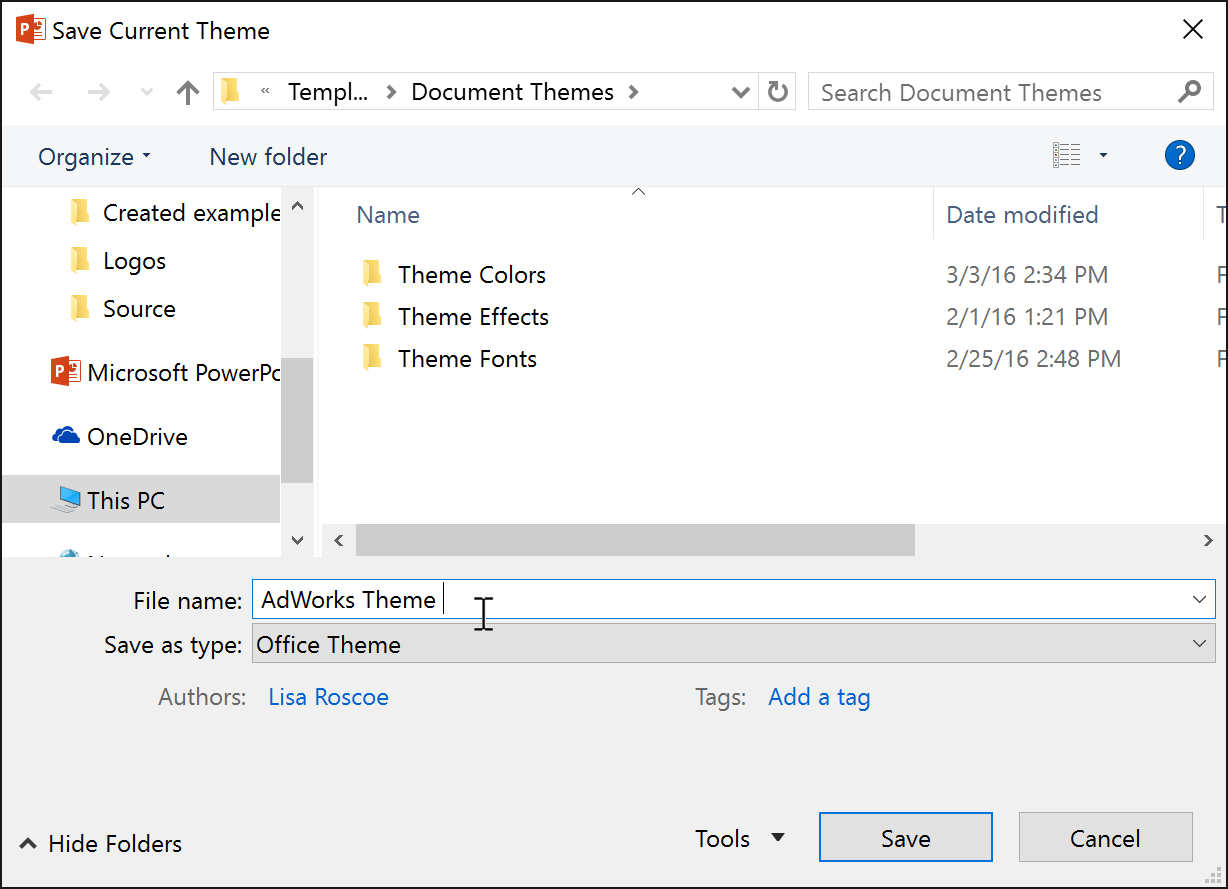
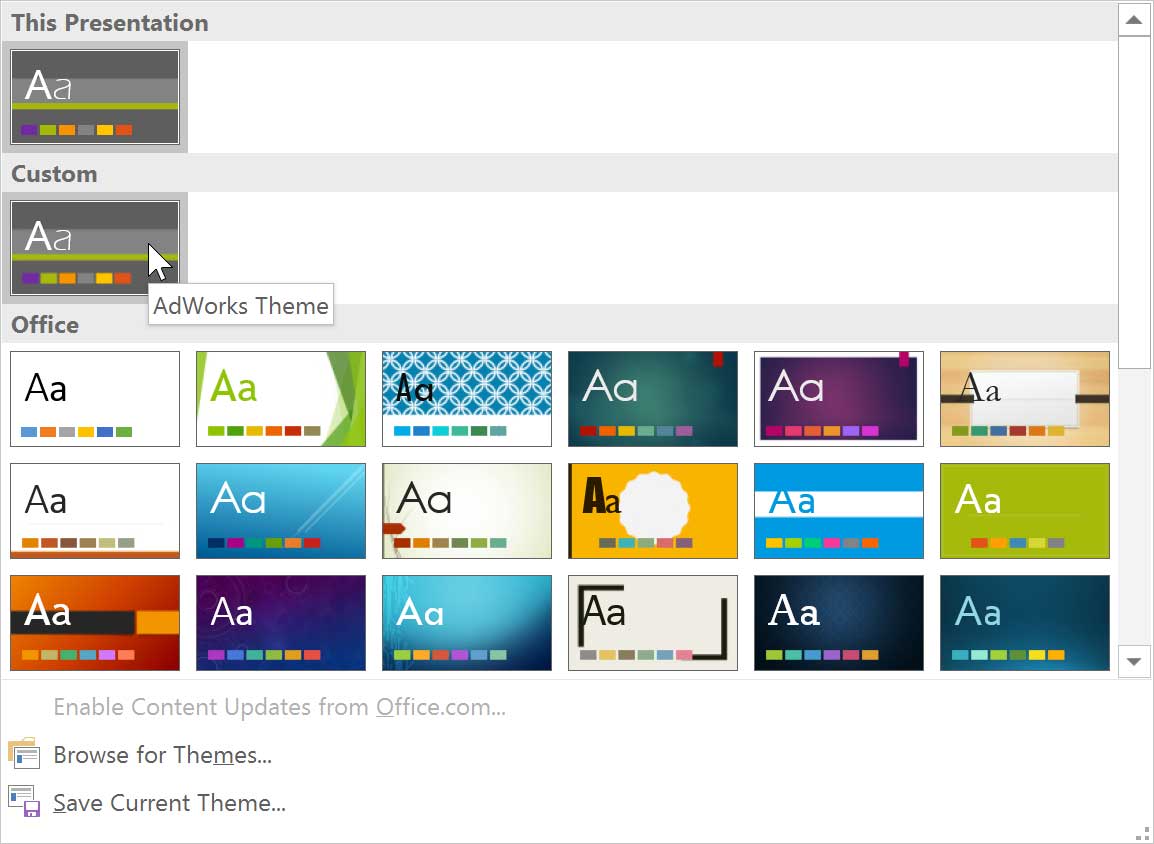
Custom themes have another unique and powerful feature: Any custom theme you save in PowerPoint can actually be used in other Microsoft Office applications, such as Word and Excel.

/en/powerpoint2016/slide-master-view/content/