
Word 2010 -
Inserting Clip Art and Pictures

Word 2010
Inserting Clip Art and Pictures

search
menu
/en/word2010/text-boxes-and-wordart/content/
Images are a great way to liven up a document, and Word offers a few methods to insert them. There are built-in clip art images for just about every topic, so you may be able to find a perfect clip art image for your document. If you have a more specific image in mind, you can insert a picture from a file.
In this lesson, you will learn how to search for and insert clip art, how to insert an image from a file, and how to change the text wrapping settings for your images.
Adding clip art and pictures to your document can be a great way to illustrate important information or add decorative accents to existing text. You can insert images from your computer or search Microsoft's extensive selection of clip art to find the image you need. Once an image has been inserted, you can format text to wrap around the image.
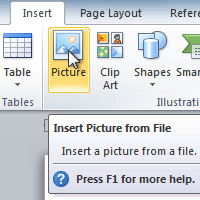
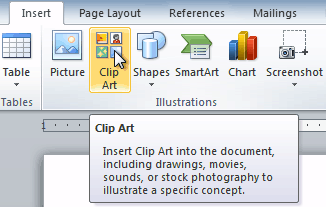 The Clip Art command
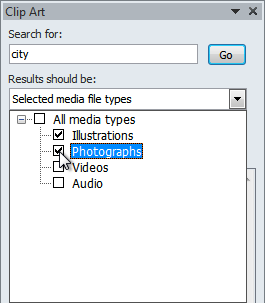 Choosing which media types to display
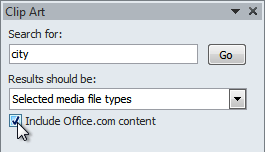 Including Office.com content
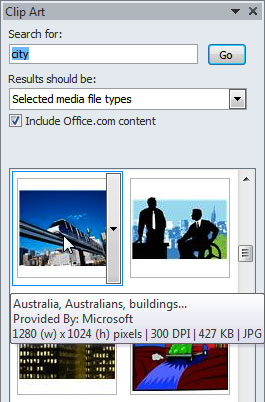 Selecting a Clip Art image
You can also click the drop-down arrow next to the image in the Clip Art pane to view more options.
 Inserting a picture from a file
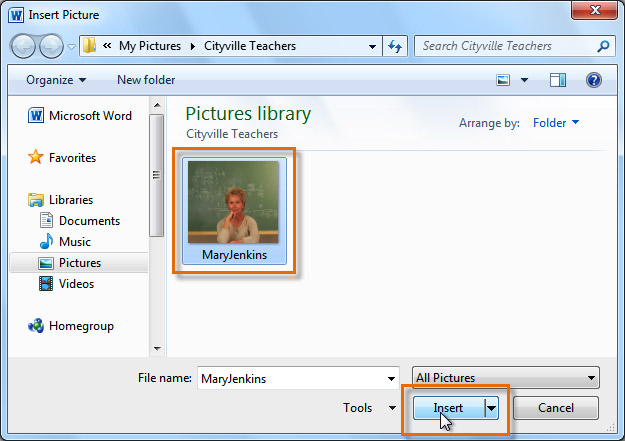 Selecting an image file
To resize an image, click and drag one of the corner sizing handles. The image will change size while keeping the same proportions. If you want to stretch it horizontally or vertically, you can use the side sizing handles.
When you insert clip art or a picture from a file, you may notice that it's difficult to move it exactly where you want. This is because the text wrapping for the image is set to In Line with Text. You'll need to change the text wrapping setting if you want to move the image freely, or if you just want the text to wrap around the image in a more natural way.
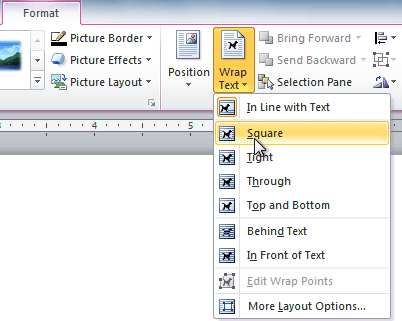 Choosing a text wrapping setting
If you can’t get your text to wrap the way you want, click the Wrap Text command, then select More Layout Options from the menu. You can make more precise changes in the Advanced Layout dialog box that appears.
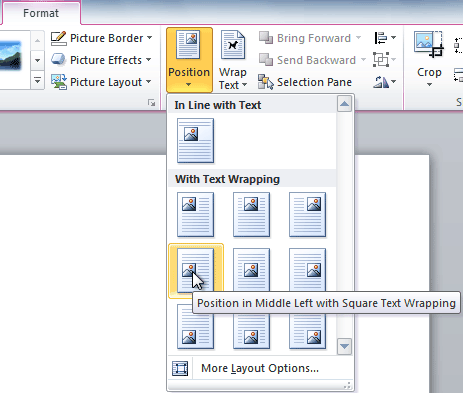 Choosing an image position
/en/word2010/formatting-pictures/content/