Google Classroom Mobile App -
Utilizing Google Classroom's Mobile App

Google Classroom Mobile App
Utilizing Google Classroom's Mobile App


If you have access to a smartphone or tablet, you can use the mobile app version of Google Classroom. The app is easy to use, but it also has some limitations. In this lesson, we will talk about creating a class, viewing notification settings, and opening class settings. To get started, you’ll need to have downloaded the Google Classroom mobile app and have already logged in using your Google account.
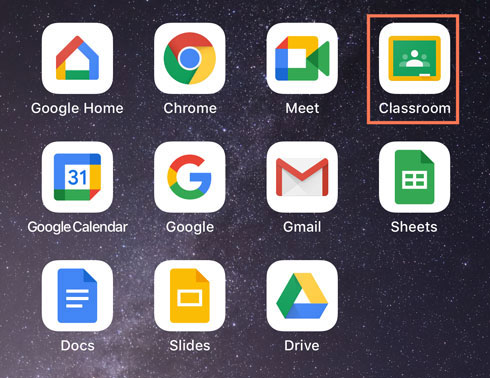
This is a guide that is geared toward teachers. If you are looking for the Google Classroom for desktop computers tutorial, you can find it here.
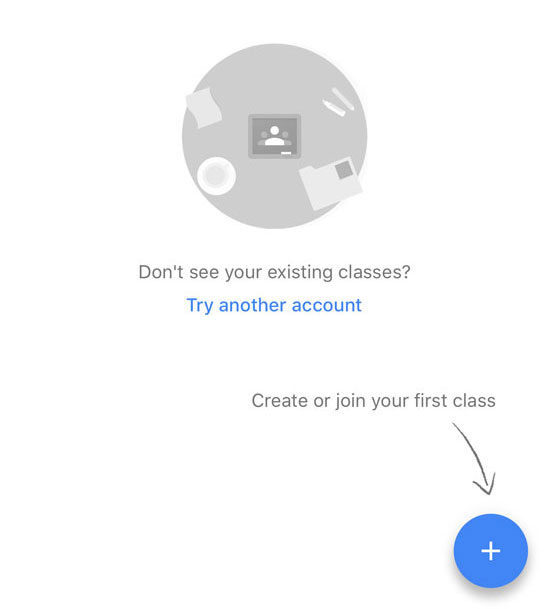
After logging in, the app opens to the Classes screen. Tap the plus sign icon to Create or join your first class.
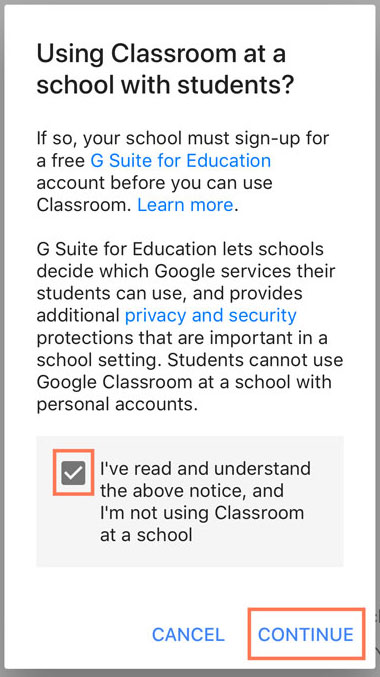
A message pops up asking if you are Using Classroom at a school with students? If your answer is yes, you’ll need to sign-up for G Suite for Education or check with your school to see if they have a teacher account already created for you. After reading this message and determining that it does not apply to you, tap the checkbox followed by Continue.
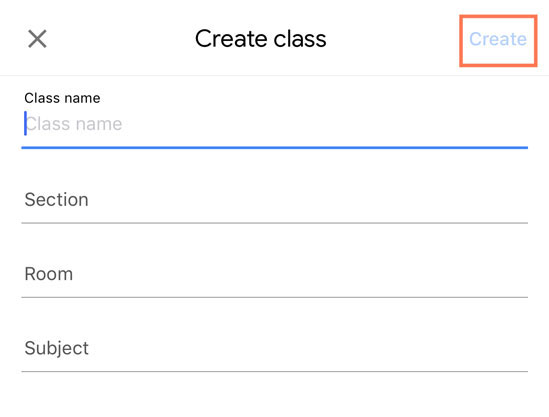
The next step is to enter the class information. When you are done, tap Create.
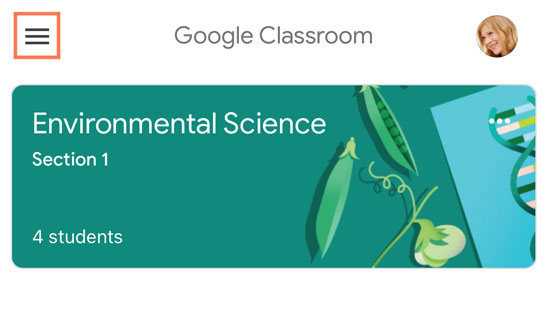
From the Classes screen, click the menu icon in the top-left corner.
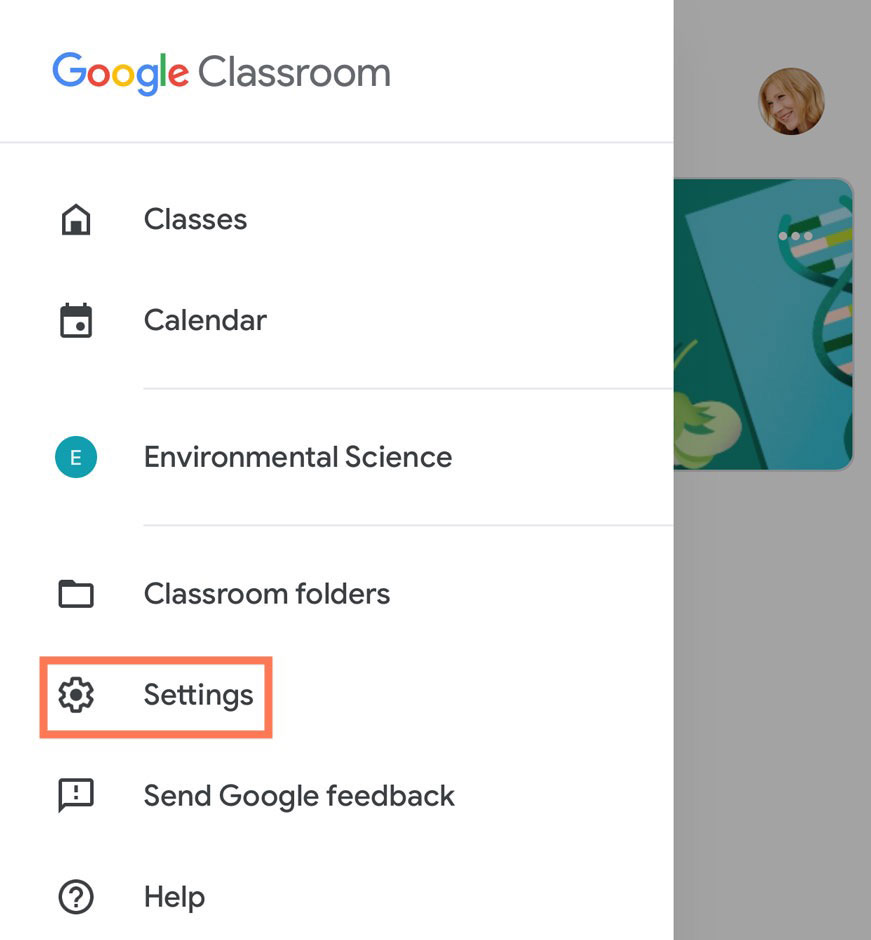
A pane appears that includes shortcuts to Google Calendar as well as Classroom folders in Google Drive. Let’s select Settings.
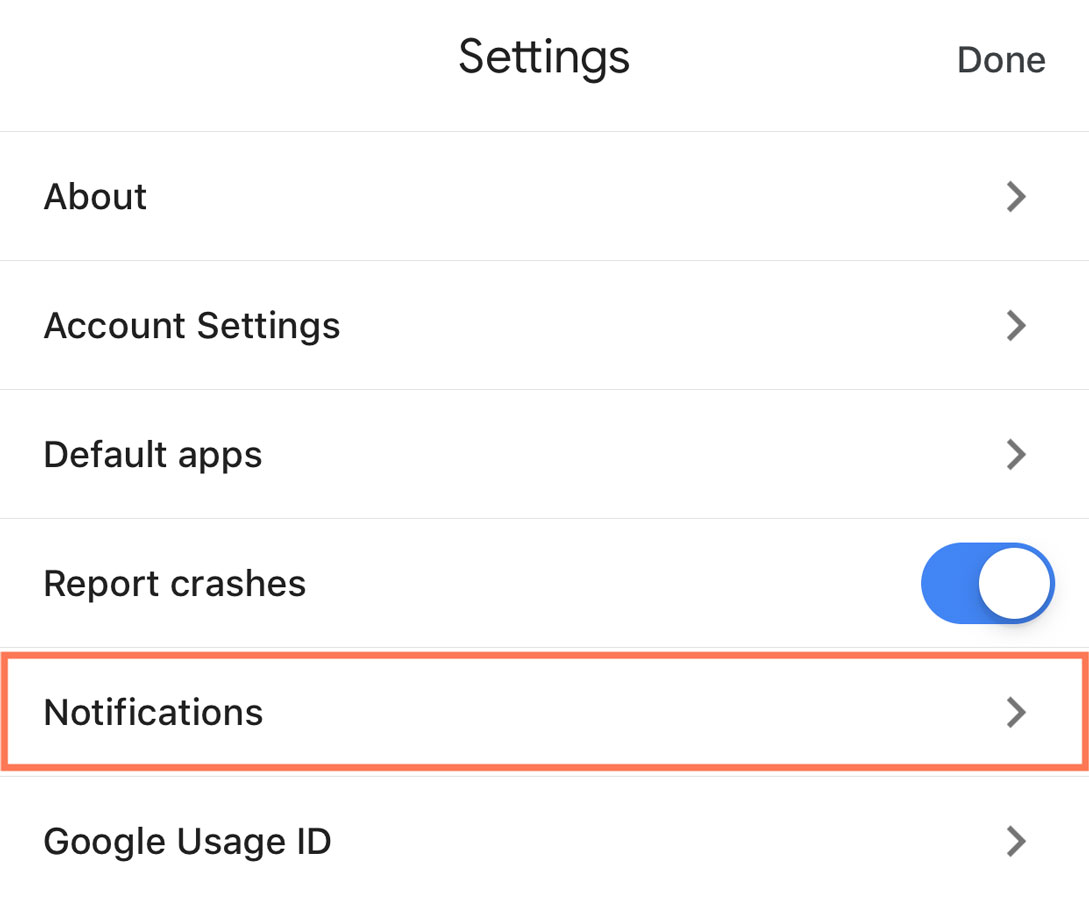
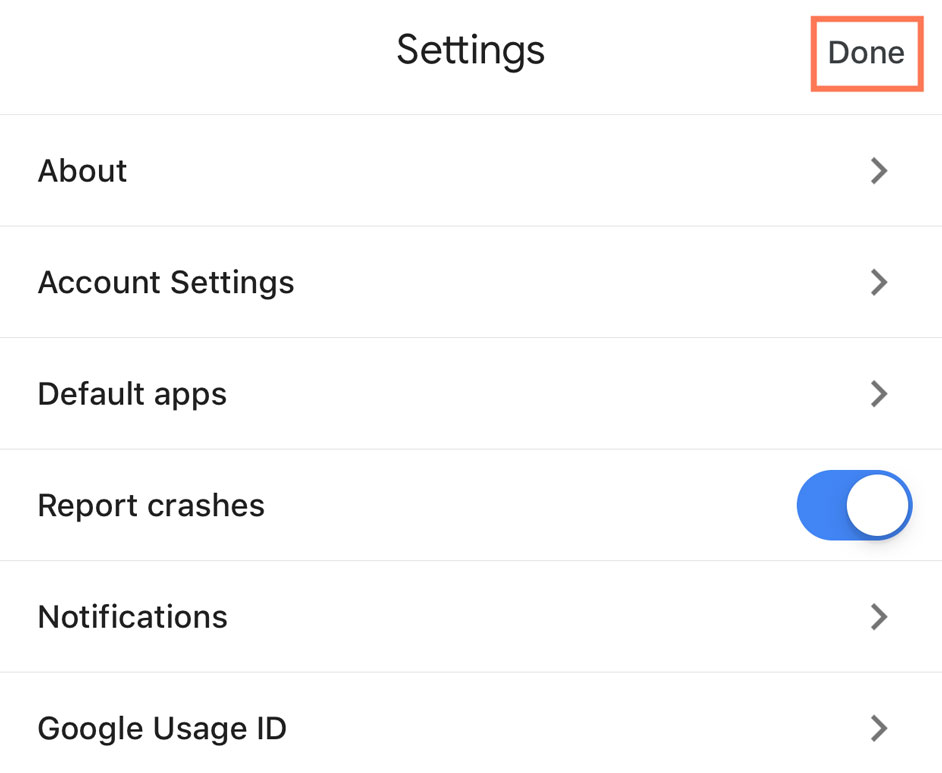
From the Settings window, tap Notifications.
If you no longer want Email notifications, tap the toggle to switch them off.
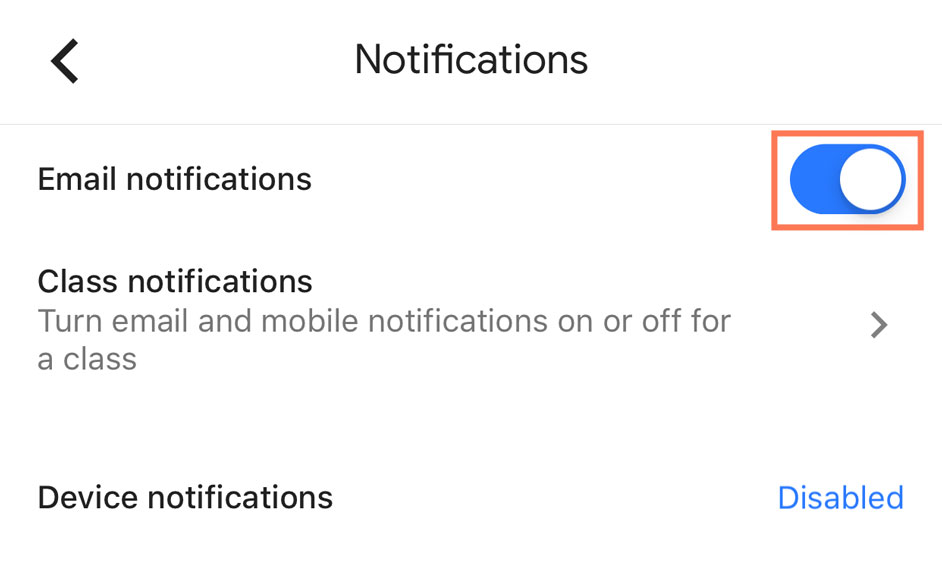
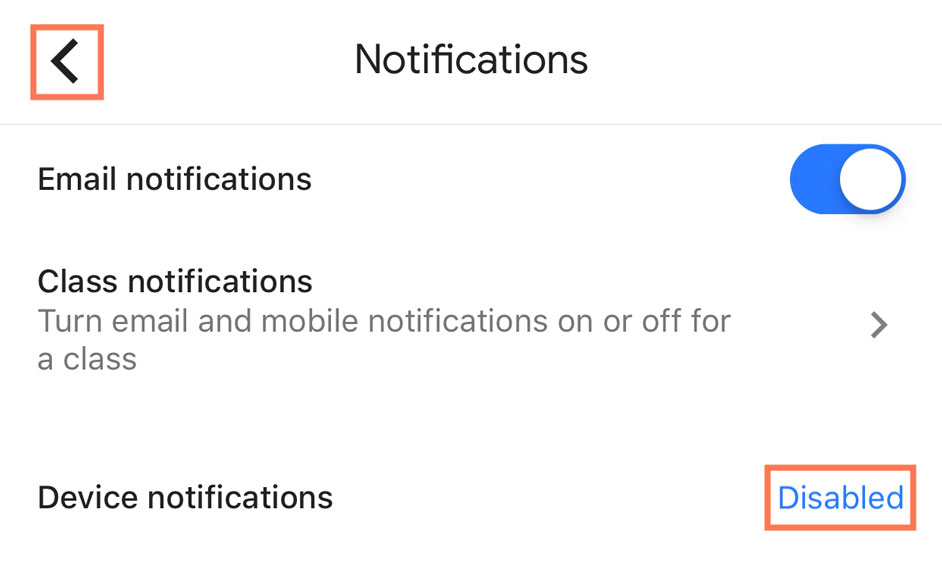
Next, tap Class notifications. The classes you’ve created each will have toggle switch to turn notifications on/off by class. Tap the arrow in the top-left corner to return to the Notifications menu.

Currently, Device notifications are disabled. If you want to enable them, select Device notifications. To return to the Settings menu, tap the back arrow in the top-left corner.
Next, tap Done.
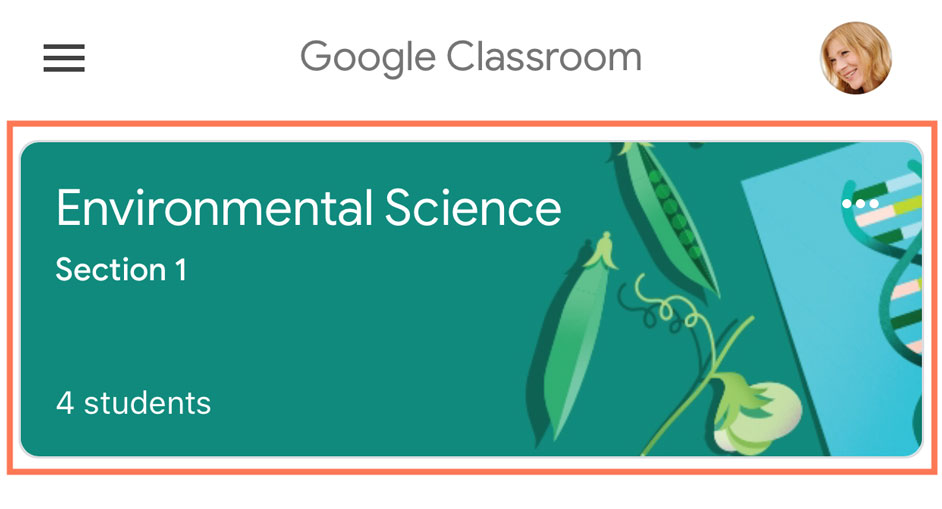
To open a class, tap on the name of it.
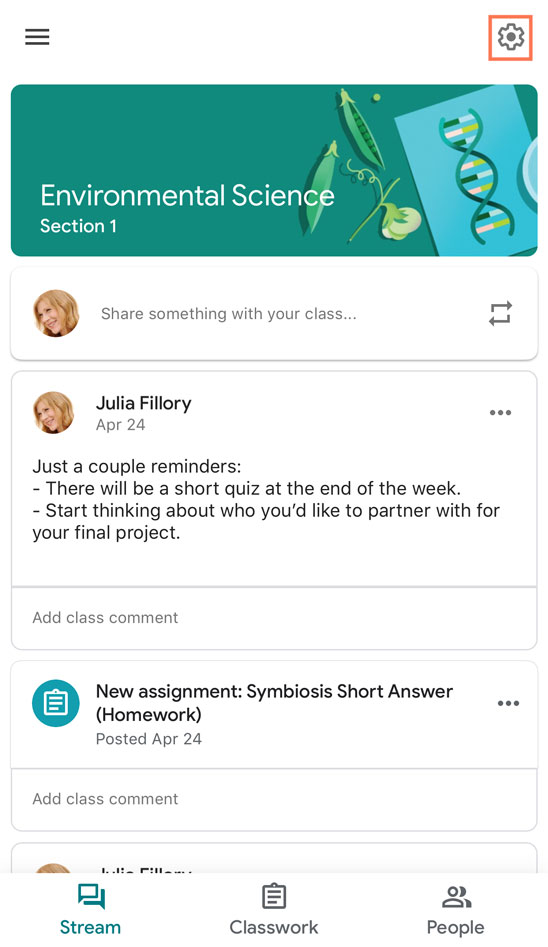
The app opens to a screen that has tabs at the bottom. You may have seen these tabs in the desktop version of Google Classroom. In later lessons, we will talk about what each tab does and how to navigate them. First, let’s take a look at this particular class’ settings. Tap the settings icon in the top-right corner of the screen.
The Settings menu opens up. From here, you can edit the class’ information. For our example, let’s scroll down to view General settings.
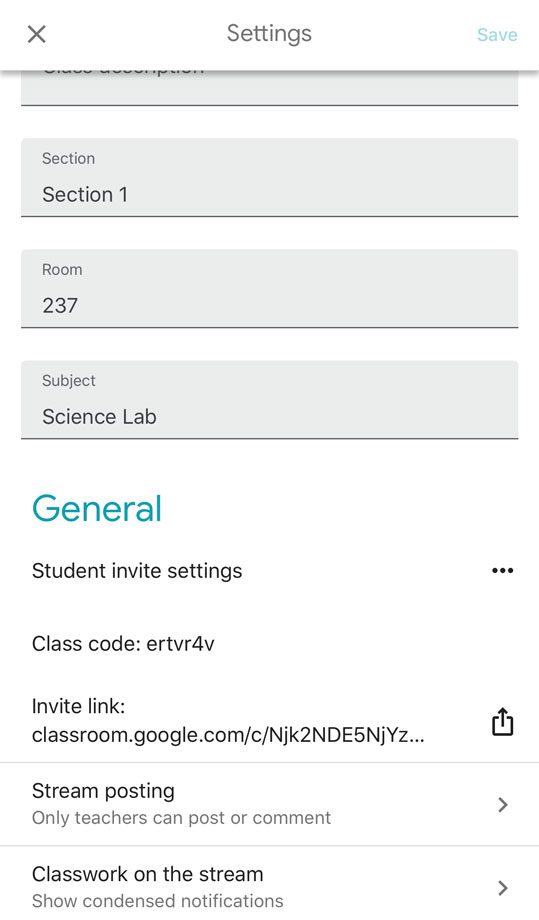
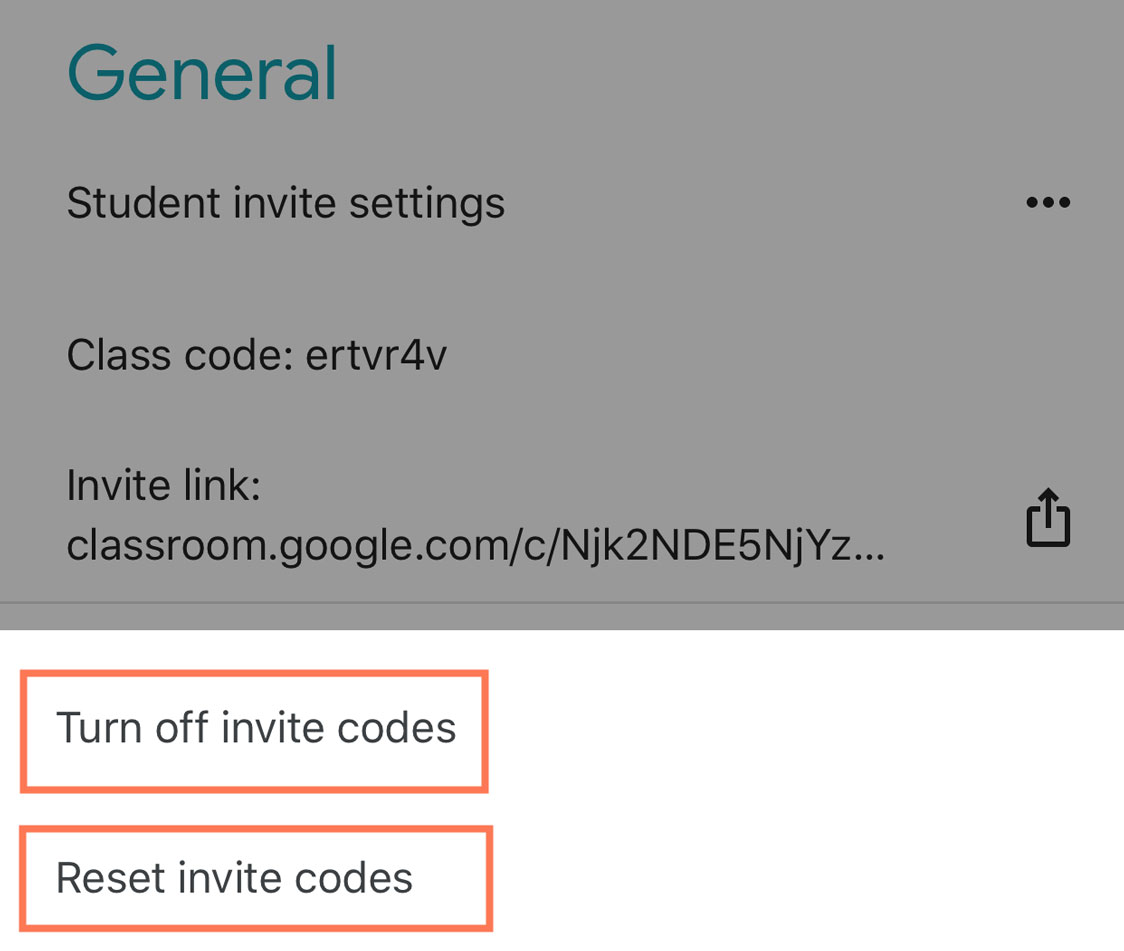
To see more settings, tap the three dots next to Student invite settings.

A menu appears at the bottom of the screen with the options to Turn off invite codes or Reset invite codes. If all students from your roster have joined the class, you can tap Turn off invite codes, which will not let anyone else join the class. If you need to reset the codes, you can tap Reset invite codes to get new codes for the class. This will not affect the students who have already joined your class.
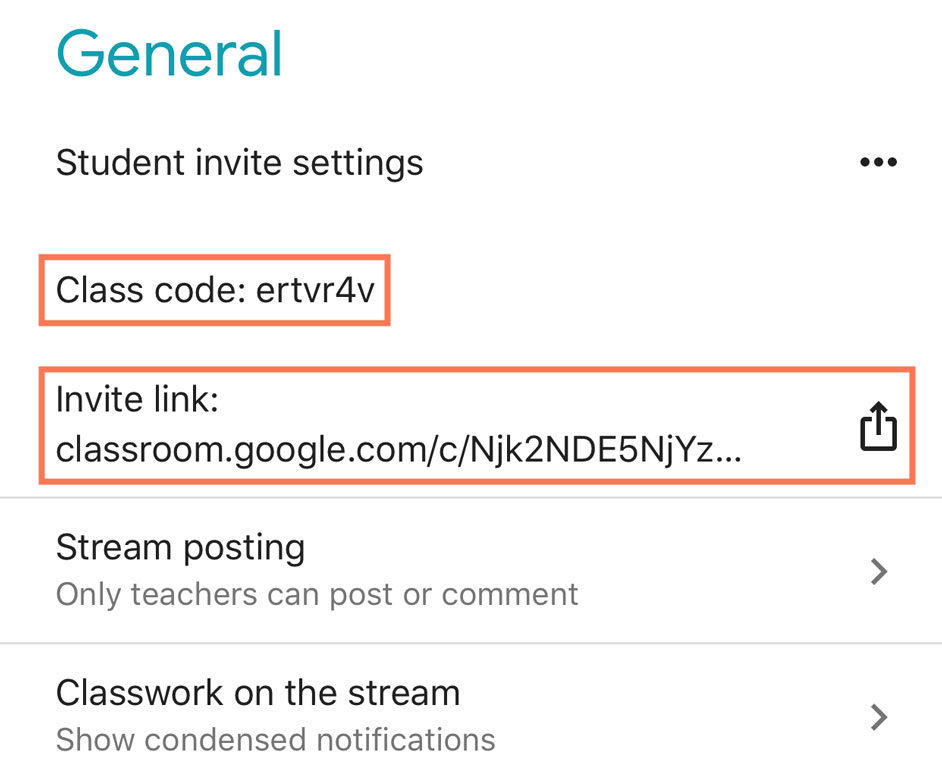
To add students to your class, you can either share the Class code with them or share the Invite link.
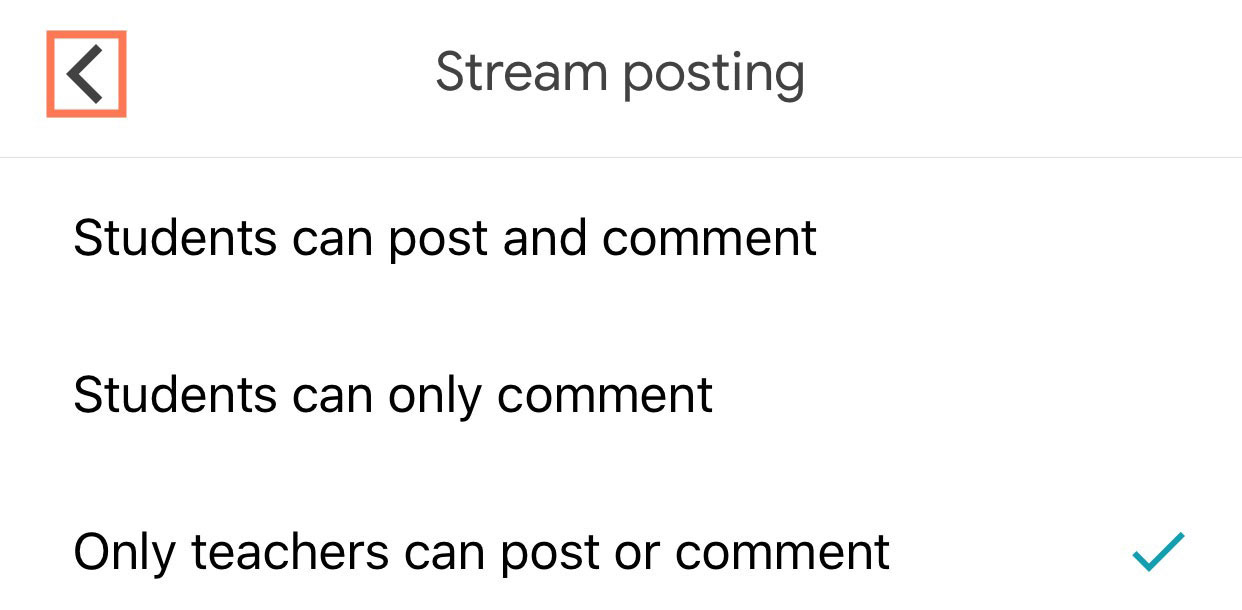
To adjust who can post to the Stream, you can tap Stream posting. Stream is where students can see announcements and other posts from their teacher. We will talk more about this tab in a later lesson. Choose the option that best suits your class. For our example, let’s select Only teachers can post or comment to have control over what is posted. Click the back arrow in the top-left corner and Save the changes that you made in Settings.
Google Classroom’s mobile app lets teachers have access to their class for online and in-person learning while using a tablet or smartphone. You can communicate with your students about their upcoming assessments, ask them questions, add their assignments, and discuss their grades.
/en/google-classroom-mobile-app/viewing-the-stream-and-people-tabs/content/