Google Slides: Linking Between Slides

Lesson 17: Linking Between Slides

/en/googleslides/audience-qa/content/

Linking between slides

In Google Slides, you can easily turn any text or object into a link, and linking between slides is a powerful feature with lots of possibilities. 

Watch the video below to learn how to use this feature to create an interactive presentation.


Creating an interactive presentation

In this lesson, you are going to learn how to create an interactive presentation about the solar system. Along the way, you will learn how to turn text into links, how to turn part of your slide into a link, how to edit links, and more.

Open our example file if you'd like to work along with the lesson. Make sure you're signed in to Google, then click File > Make a copy

You can view the finished product to see what the presentation will look like when we're done.

Turning text into a link to another slide

To build our interactive presentation, we will begin by creating a link from the Jupiter slide back to the home slide.
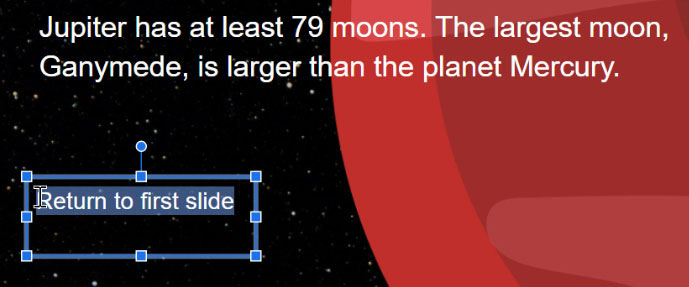
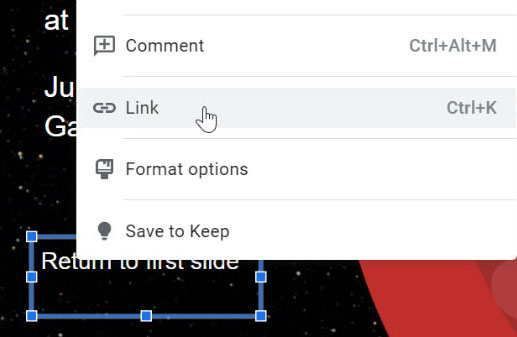
  1. Select the text that you want to turn into a link.
    selecting text
  2. Right-click and choose Link. You can also use the keyboard shortcut Ctrl+K or Command+K if you're using a Mac.
    right clicking and choosing link
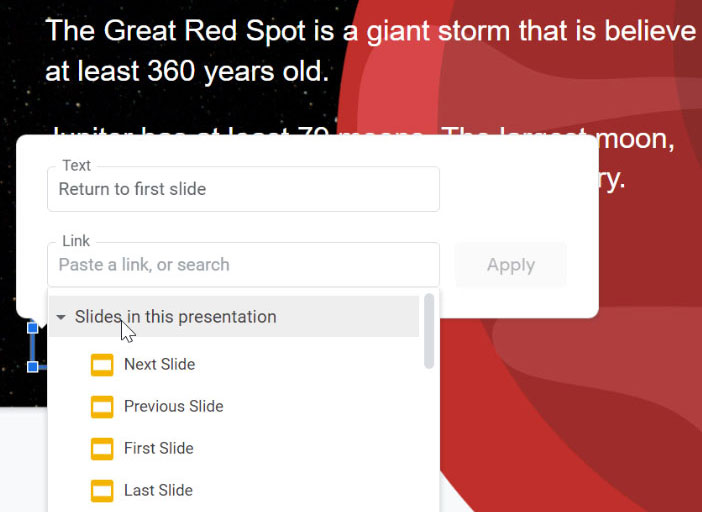
  3. A dialog box will open. If you want to link to an external website, you can add a URL, but to link to another slide within your presentation, click Slides in this presentation.
    looking at slides in this presentation
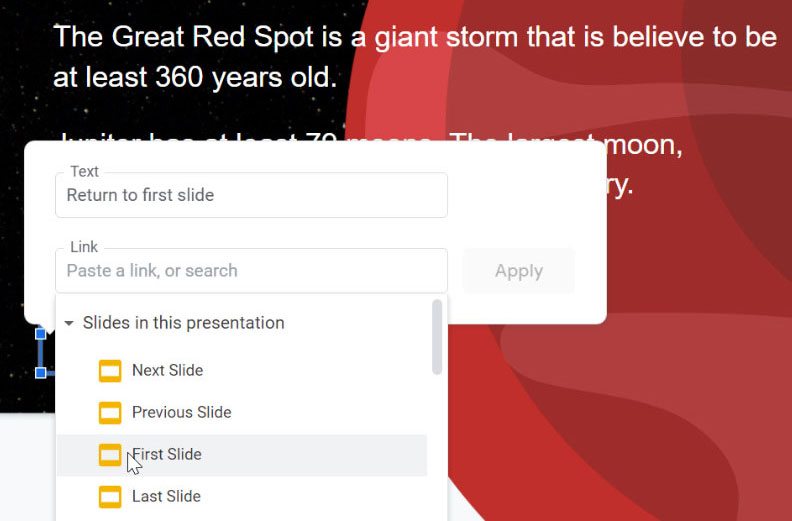
  4. Choose the slide that you want the text to link to. In our example, we'll select First Slide.


    selecting first slide
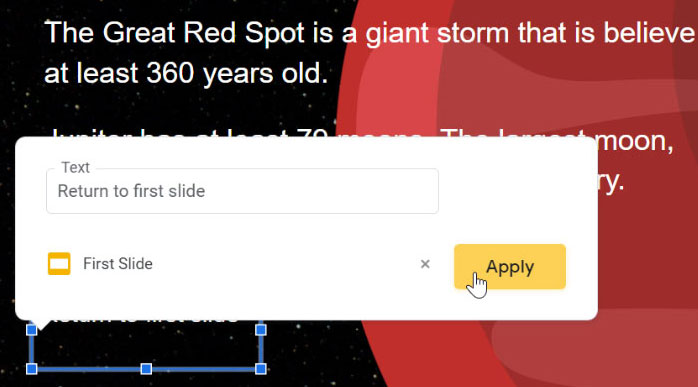
  5. Click Apply.
    clicking apply
  6. Your text is now a link. Notice that the text formatting has changed. You can use the toolbar to change it back if you want, but this formatting is helpful because it lets people know that the text is clickable.
    link is generated

Selecting a linked object

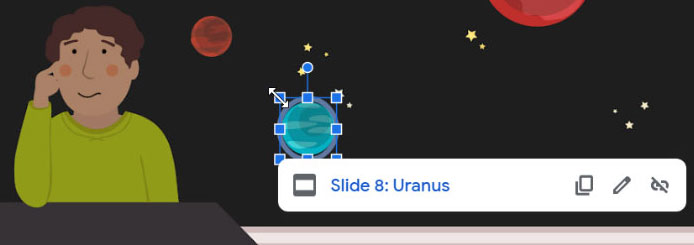
Whenever you select an object that has a link, a dialog box will appear. From this dialog, you can click the remove link icon, click the pencil icon to edit the link, click the copy icon, or click the name to go to the link.

viewing link dialog box

Turning part of your slide into a link

Now, we are going to turn Jupiter into a link that takes users to the Jupiter slide. This is going to be a little tricky because this entire slide is a single image, which means that you can't actually select the planet. 

Fortunately, there is a workaround. We are going to create a transparent shape and place it over Jupiter. Then, we will add a link to that shape. This technique allows you to turn any part of your slide into a link.
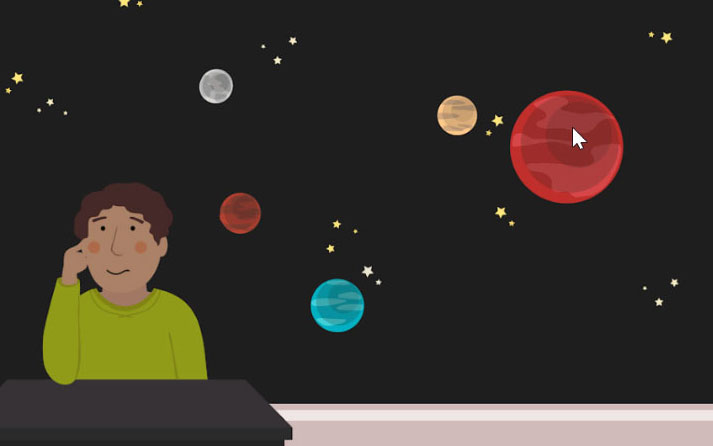
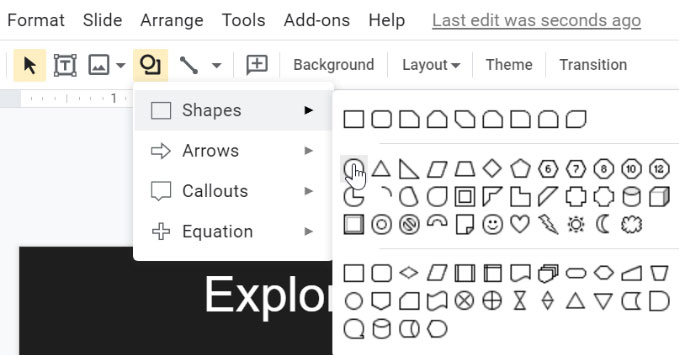
turning jupiter into a link
  1. Click the Shape command, hover over Shapes, and choose the circle
    selecting the circle
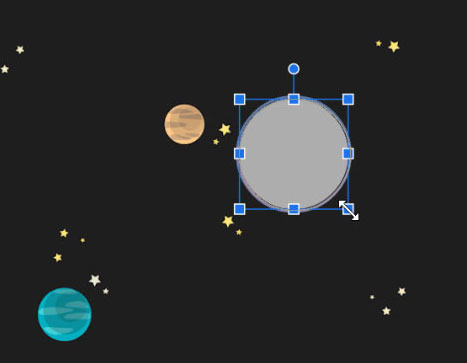
  2. Click and drag to draw the shape.
    drawing the circle
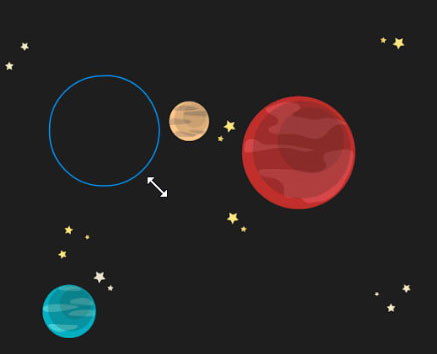
  3. Move and resize the circle as needed so that it lines up with Jupiter.
    resizing circle to jupiter
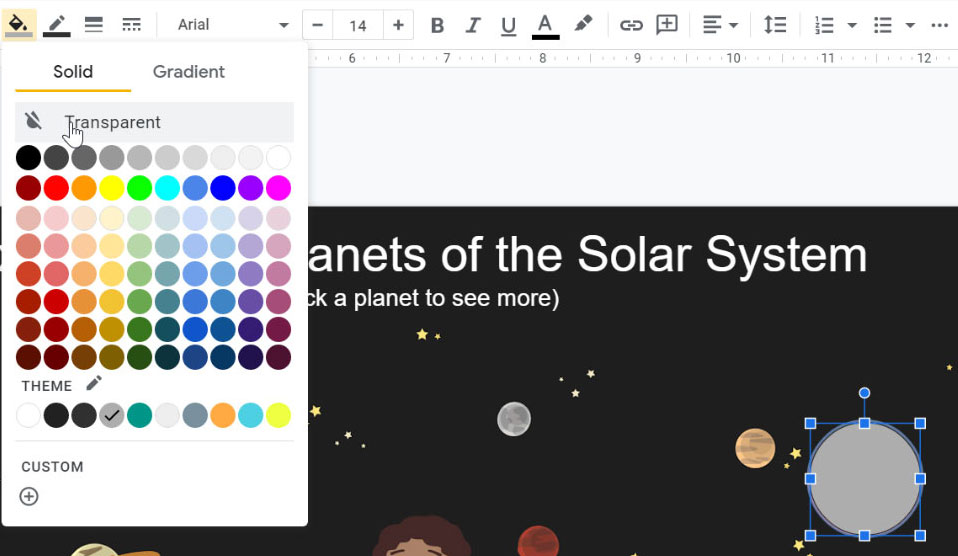
  4. On the toolbar, click the Fill color command then choose Transparent.
    selecting transparent fill color
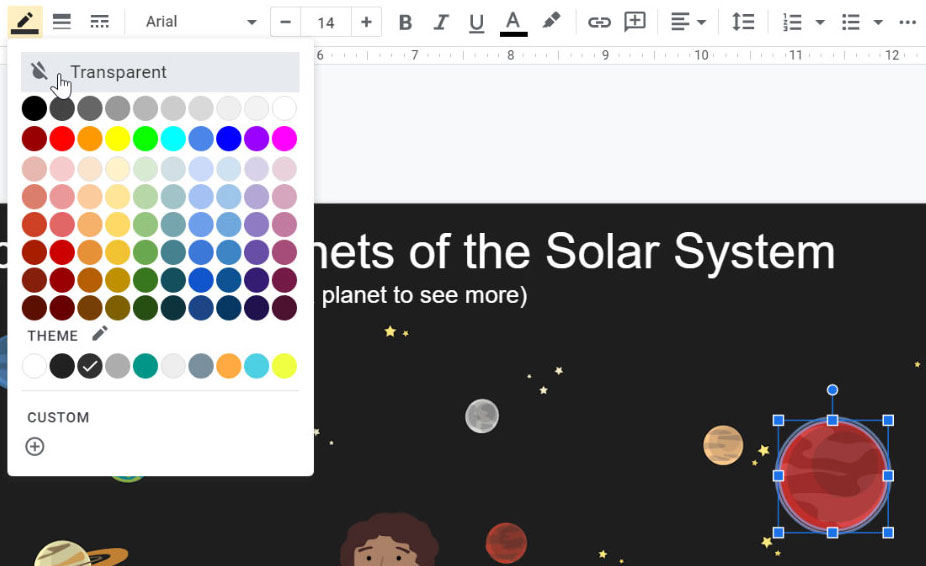
  5. On the toolbar, click the Border color command then choose Transparent.
    selecting transparent border color
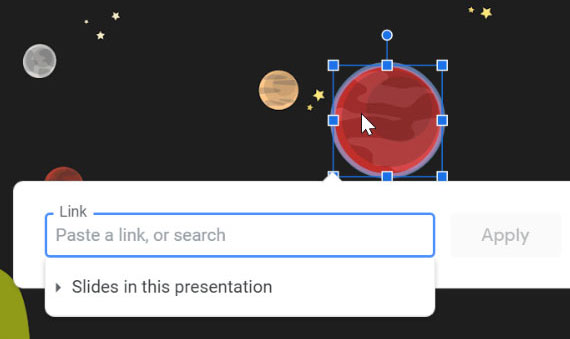
  6. Now, you have an invisible object on top of Jupiter. With the object selected, add a link using the keyboard shortcut Ctrl+K or Command+K.
    right clicking jupiter
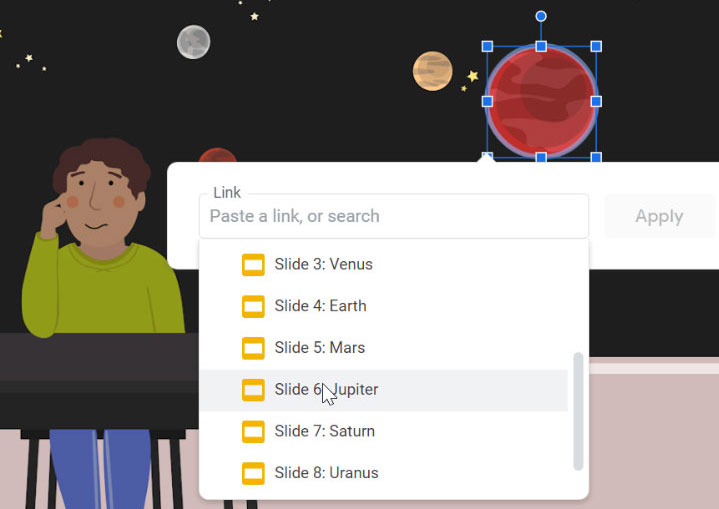
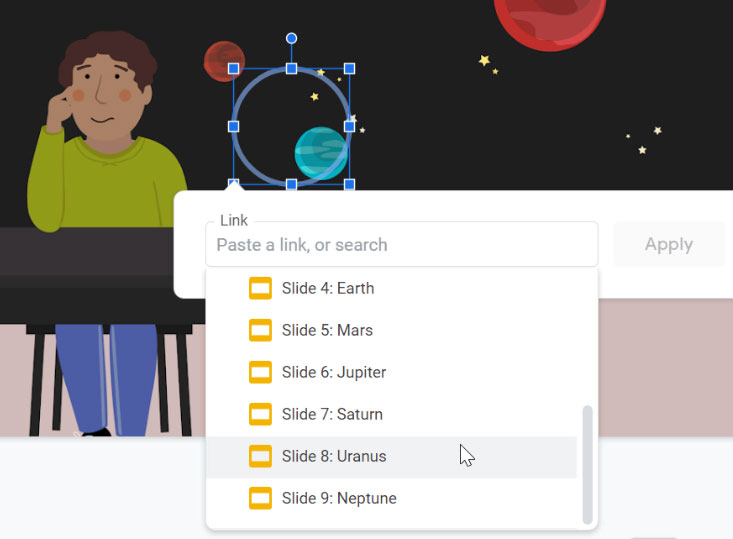
  7. In the dialog box, click the Slides in this presentation drop-down menu and choose the Jupiter slide.
    selecting jupiter's slide
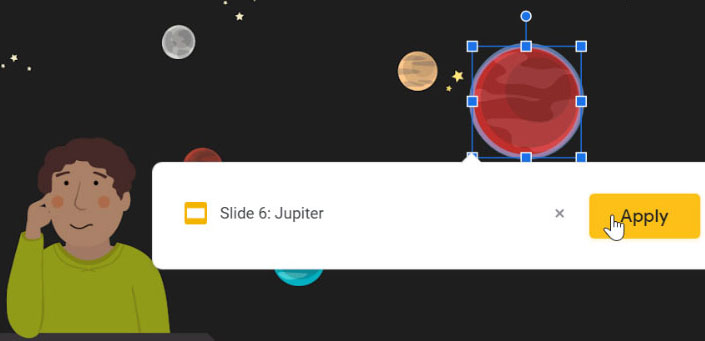
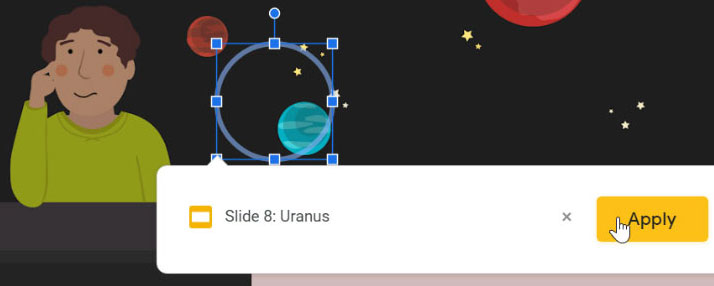
  8. Click Apply.
    clicking apply

Copying, pasting, and editing links

Creating a new transparent shape for every planet would take a long time. It's much quicker to copy and paste your existing shapes. 
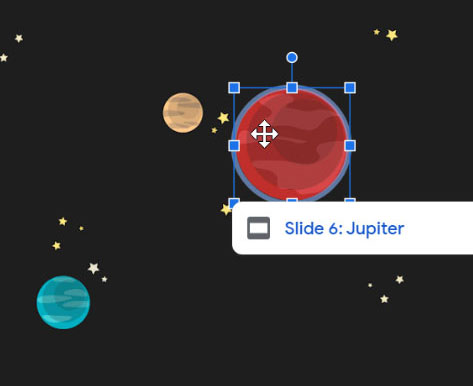
  1. Select the transparent shape.
    selecting transparent shape
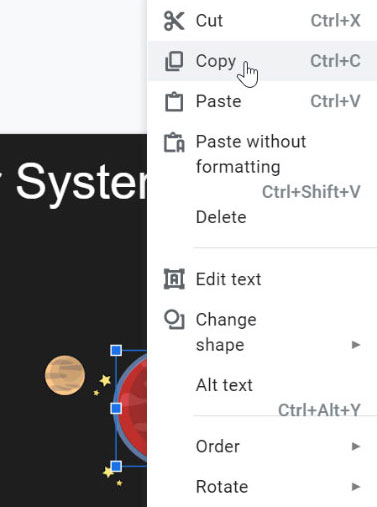
  2. Right-click and choose copy.
    copying circle
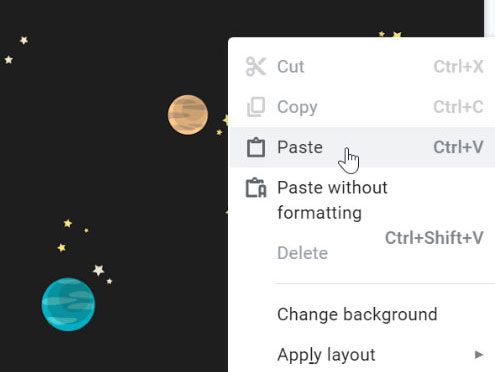
  3. Right-click again and choose paste.
    pasting circle
  4. To edit the link, click the pencil icon. Alternatively, you can right-click and choose link just like we did before.


    editing link
  5. Click the Slides in this presentation drop-down menu and choose the correct slide.
    selecting slide
  6. Click Apply.
    applying link
  7. Move and resize the shape so that it lines up with another planet.


    resizing shape

Testing your links

It's important to test your links before sharing your presentation. Click Present to start the presentation.
clicking present

The cursor changes when you hover over part of the slide that has a link.
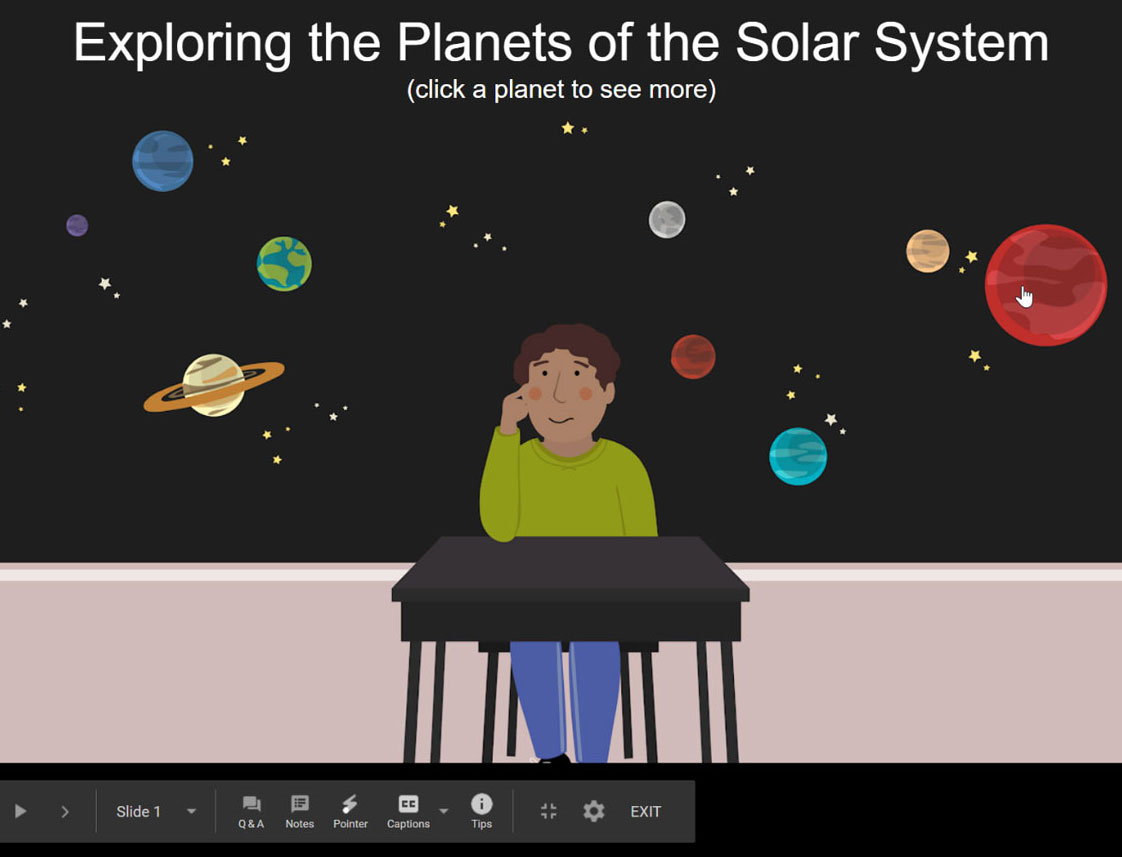
cursor changes

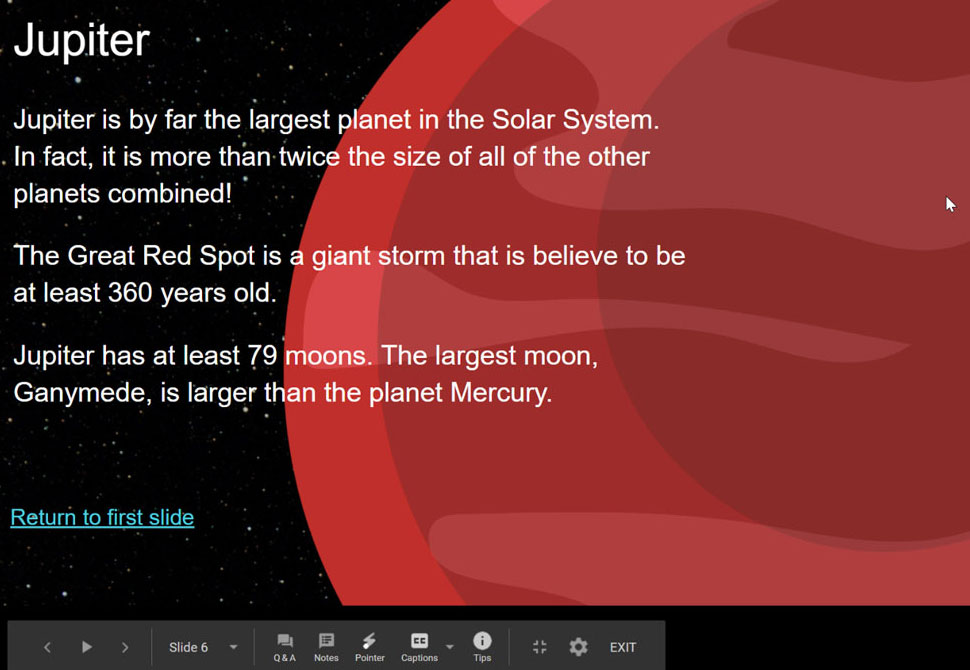
Click a link to go to a slide.

going to the slide via the link

It's a good idea to test every link in your Google Slides presentation to make sure that it leads to the correct slide.
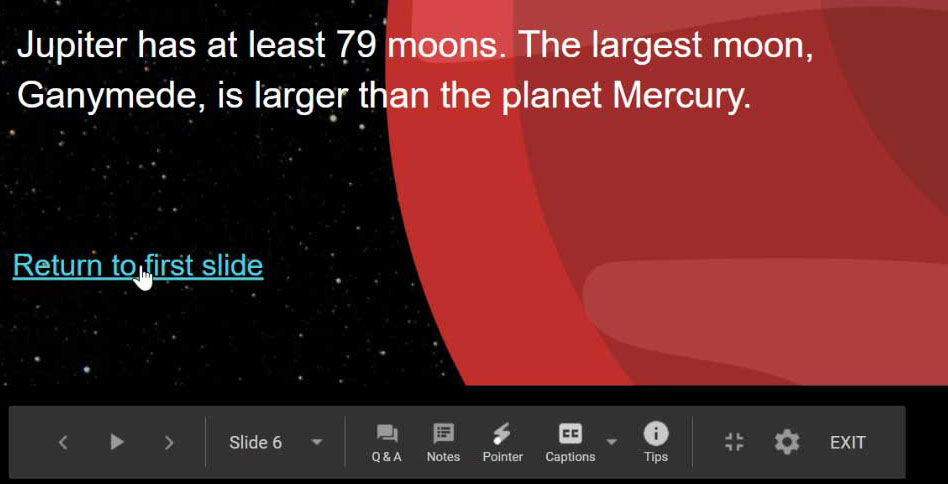
testing links

Once you learn how to link between slides, there are nearly endless possibilities.

/en/googleslides/inserting-and-editing-videos/content/