Basic HTML -
Text Elements in HTML

Basic HTML
Text Elements in HTML


/en/basic-html/create-a-webpage/content/
This lesson is part of a series on computer programming. You can go to Intro to Programming if you'd like to start at the beginning.
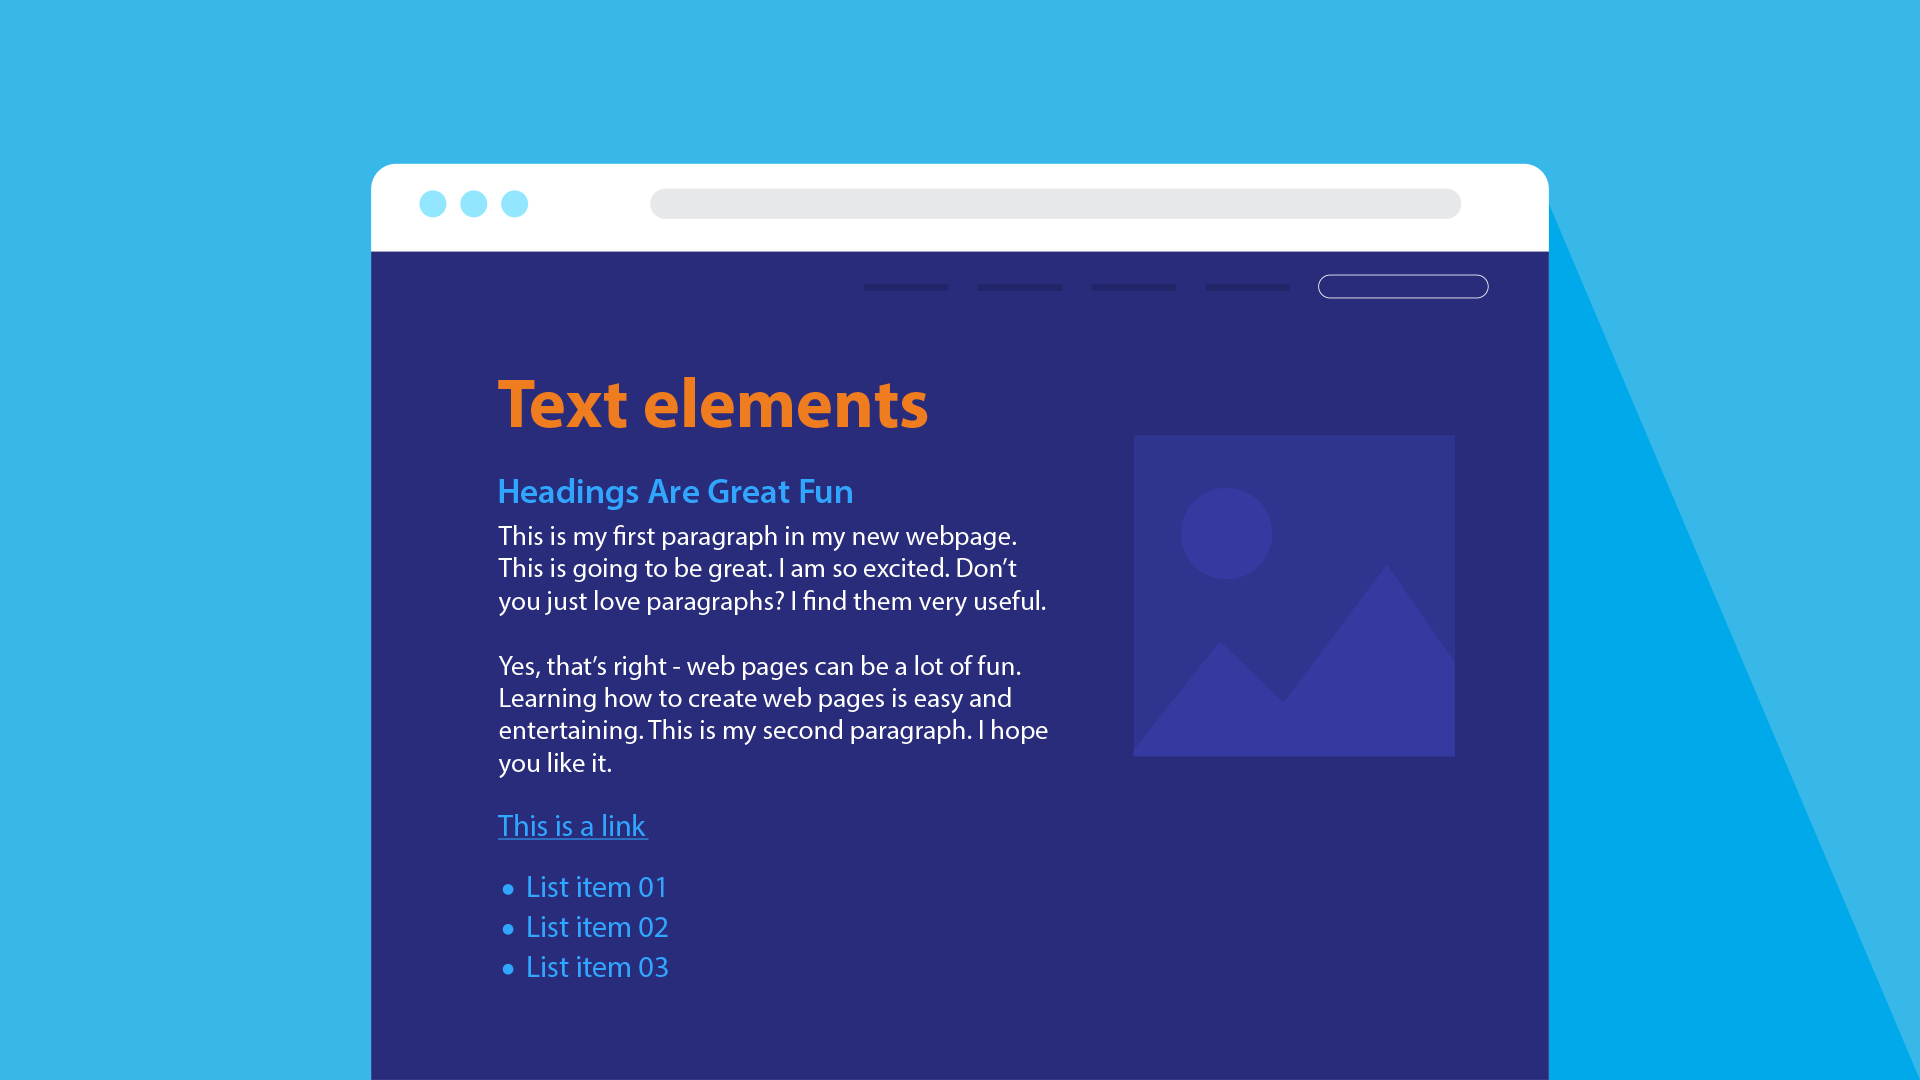
Some of the most common HTML elements that make up a webpage are text elements. All the text you read on this website, for example, whether it's the titles at the top of the page, the section headers, or this very text, is made from HTML text elements.

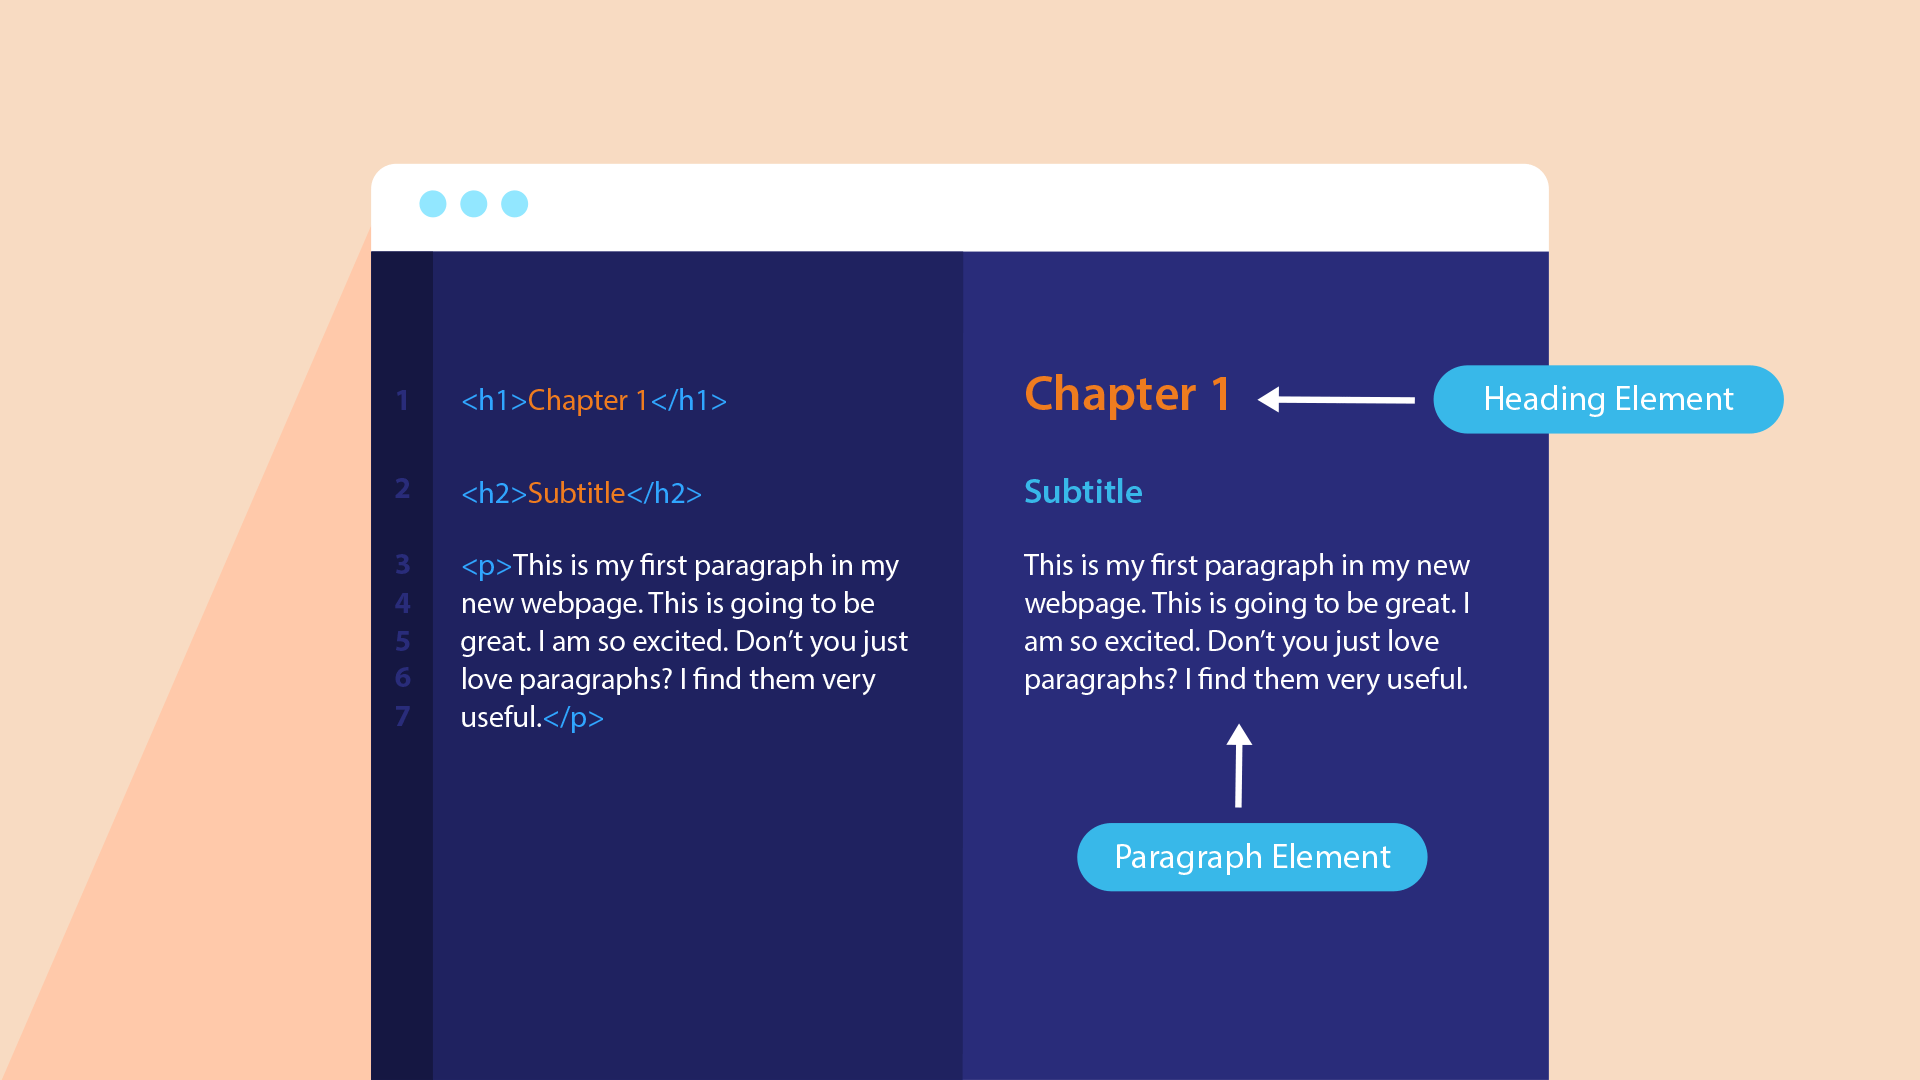
The most basic way of adding text to a web page is the paragraph element. If you've been following along with this tutorial, you've seen this element before, but it's worth repeating, because the paragraph element is one of the most common HTML elements used on most of the websites you visit every day.
<p>This is a paragraph</p>
By default, every browser puts a bit of space above and below paragraph elements when they display them, which keeps each paragraph independent from the ones around it, just like the paragraphs you'd see printed in a book or magazine.
Like the paragraph element, heading elements are also used to display text on the screen. They're generally used to create section headings.
<h1>This is a heading element</h1>
For example, you might use a heading element to display the title of an essay you're writing, or the name of a chapter in a book. The actual text of the essay or chapter, on the other hand, would use paragraph elements.

Heading elements come in six default levels, <h1> through <h6>, which you can think of as an order of importance. If you put an <h1> on your web page, for example, it's safe to assume that it's the most important section heading and probably at the top of your page, while an <h2> is slightly less and important, and so on.
They also come with some default browser styling, which reinforces that order of importance: the <h1> element is the biggest, the <h2> is smaller, and on like that.
<h1>This is the biggest one</h1>
<h2>This one is a little smaller</h2>
<h3>This one is even smaller</h3>
<h4>They keep getting smaller</h4>
<h5>This one isn't even that big</h5>
<h6>Pretty small now, actually</h6>
Text formatting elements are used to change the way text looks in certain predefined ways. For instance, here are a few common text formatting elements:
<b> element makes its contents bold.<i> element italicizes its contents. <u> element underlines its contents.These elements are usually found nested inside of other text elements, such as the paragraph or heading elements, because they are usually only meant to apply to part of the text. For example:
<p>These words aren't bold, but <b>these two</b> are.</p>
That HTML would be displayed like this:

Try experimenting with each of the elements covered in this lesson in the input below. You can enter whatever you want, but if you need some ideas on what to enter, try using the elements below as an example.
<h1>The Long Goodnight</h1>
<h3><u>Chapter 1: The City and the Silence</u></h3>
<p>Detective Hardcastle shuddered when he heard the knock at his door. Midnight on a Saturday, and somebody was looking for a gumshoe? It smelled like trouble, because if he had learned one thing in his time as a private eye, it was that all the city's ghosts came out at night.</p>
<p><i>I hope you're not looking for a fight</i>, he thought to himself. <i>Because if you are, you found it.</i></p>
Enter your HTML elements in the input here:
Open the index.html file of your GCF Programming Tutorials project in your text editor, and let's add some text elements. For the best understanding, be sure to actually type this code in, rather than copying and pasting it.
<p>Hello, world!</p>
<body> element, where your <p>element was before: <h1>Cinema Classics Movie Reviews</h1>
<h2>Review: Basketball Dog (2018)</h2>
<p> tags, one for each separate paragraph. Add this just below the <h1> element you just added:
<p>4 out of 5 stars</p>
<p>From director Vicki Fleming comes the heartwarming tale of a boy named Pete (Trent Dugson) and his dog Rover (voiced by Brinson Lumblebrunt). You may think a boy and his dog learning the true value of friendship sounds familiar, but a big twist sets this flick apart: Rover plays basketball, and he's doggone good at it.</p>
<p>While it may not have been necessary to include all 150 minutes of Rover's championship game in real time, Basketball Dog will keep your interest for the entirety of its 4-hour runtime, and the end will have any dog lover in tears. If you love basketball or sports pets, this is the movie for you.</p>
<p>Find the full cast listing at the Basketball Dog website.</p>
<b> and </b> tags, like so: <b>Vicki Fleming</b>
<i> and </i> tags, like so:<p><i>4 out of 5 stars</i></p>
Once you've done all of this, your complete code should look like this:
<html>
  <body>
    <h1>Cinema Classics Movie Reviews</h1>
    <h2>Review: Basketball Dog (2018)</h2>
    <p><i>4 out of 5 stars</i></p>
    <p>From director <b>Vicki Fleming</b> comes the heartwarming tale of a boy named Pete (Trent Dugson) and his dog Rover (voiced by Brinson Lumblebrunt). You may think a boy and his dog learning the true value of friendship sounds familiar, but a big twist sets this flick apart: Rover plays basketball, and he's doggone good at it.</p>
    <p>While it may not have been necessary to include all 150 minutes of Rover's championship game in real time, Basketball Dog will keep your interest for the entirety of its 4-hour runtime, and the end will have any dog lover in tears. If you love basketball or sports pets, this is the movie for you.</p>
    <p>Find the full cast listing at the Basketball Dog website.</p>
  </body>
</html>
Double-click your index.html file to load it in the browser, and you should see this. Your webpage is starting to look a little more like an actual webpage!
/en/basic-html/lists-in-html/content/